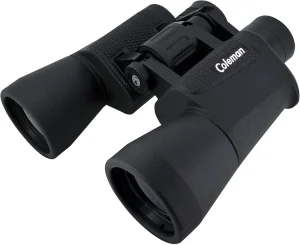
Packing for a camping trip is a constant negotiation between comfort and capability. Every item you add competes for limited space, and binoculars are no exception. Choose a pair that's too large, and they become dead weight you resent carrying. Choose something too small, and you miss the distant ridgeline, the perched raptor, or the elk grazing across the valley.
The goal is straightforward: find binoculars compact enough to ride comfortably inside—or strapped to—your camping backpack, while still delivering a view sharp enough to justify carrying them in the first place. In practice, that sweet spot usually falls between a 25mm and 42mm objective lens, with magnification from 8x to 10x. But there's more nuance to it than those two numbers.
This guide walks through everything that actually matters when fitting binoculars into a camping loadout, from physical dimensions and weight to optical trade-offs and storage strategy.
Why Backpack Fit Matters More Than You Think
A backpack is not a camera bag. Unlike a dedicated optics case, your camping pack has to hold shelter, sleep system, food, water, layers, and emergency gear. Binoculars are competing for the residual space, often in awkward corners or exterior pockets.
Bulky binoculars create three real problems on the trail:
- They distort pack balance. A heavy pair shoved into a top lid or side pocket pulls the pack's center of gravity away from your body, which you feel as shoulder strain over miles.
- They're harder to access quickly. Wildlife doesn't wait for you to unpack. If retrieval takes more than a few seconds, you'll miss the moment—or stop reaching for them entirely.
- They get left behind. The most common outcome of oversize optics is that they stay at home. A pair that never makes it into the pack provides zero value.
A compact or mid-size pair solves all three. The reminder for most campers is simple: the best wildlife binoculars are the ones you actually bring.
Understanding Binocular Size Terminology
Before diving into backpack dimensions, it helps to understand how the optics industry classifies size.
Compact Binoculars
Compact models typically have objective lenses between 20mm and 28mm. Common configurations include 8×25, 10×25, and 8×28.
Pros:
- Weigh roughly 8 to 16 ounces, sometimes less
- Fit easily in a hip belt pocket, jacket pocket, or top lid
- Ideal for minimalist backpacking and fast-and-light trips
- Often fold via a dual-hinge or single-hinge design to collapse further
Cons:
- Smaller exit pupils mean dimmer views in low light
- Narrower field of view makes locating moving subjects harder
- Less comfortable for extended glassing sessions
Mid-Size Binoculars
Mid-size optics carry objective lenses between 30mm and 36mm, with configurations like 8×32 and 10×32 being especially popular.
Pros:
- The best balance of optical performance and packability for most campers
- Noticeably brighter than compacts in dawn and dusk conditions
- Usually weigh between 15 and 21 ounces
- Wide enough field of view to follow birds in flight or scanning treelines
Cons:
- Slightly bulkier than compacts, requiring a dedicated pocket or pack location
- Not as bright as full-size glass in deep twilight
Full-Size Binoculars
Full-size means objective lenses of 42mm or larger, such as 8×42, 10×42, or 10×50.
Pros:
- Superior light gathering for low-light wildlife viewing
- Most comfortable eye relief and steadiest image
- Often the most durable builds with the best warranty support
Cons:
- Weigh 24 to 35 ounces or more
- Consume significant pack volume
- Overkill for casual campers who use optics primarily in daylight
Size Class Reference Table
| Size Class | Objective Lens | Typical Weight | Best Camping Use | Packability |
|---|---|---|---|---|
| Compact | 20–28mm | 8–16 oz | Ultralight trips, quick hikes, backup glass | Excellent |
| Mid-size | 30–36mm | 15–21 oz | General camping, wildlife viewing, birding | Very good |
| Full-size | 42mm+ | 24–35+ oz | Serious glassing, low-light observation | Fair to poor |
 Top-lid and hip-belt pockets are ideal homes for compact and mid-size binoculars because they stay accessible without requiring a full pack-off.
The Numbers That Matter for Backpack Fit
When evaluating whether a binocular fits your camping setup, look past the brand name and examine four specific numbers.
Objective Lens Diameter
The second number in a binocular's specification—the "25" in 8×25 or the "42" in 8×42—refers to the objective lens diameter in millimeters. It directly dictates the width and depth of the binocular body.
For most internal-pack carry, stay at or below 42mm. Above that, barrels become too wide to sit flat in a side pocket and too deep to layer comfortably with other gear.
Magnification
Magnification between 7x and 10x works best for handheld camping use. Higher magnification sounds appealing, but it magnifies hand shake just as much as the subject. Above 10x, a stable image usually requires a tripod or a braced position against a tree, which adds weight and complexity most campers don't need.
An 8x or 10x pair with a generous field of view is far more useful in dense forest than a jittery 12x.
Physical Dimensions
Manufacturers list folded and unfolded length, width, and height in millimeters. The folded length matters most for pocket storage. A folded length under 5 inches fits nearly any pack pocket. Between 5 and 6.5 inches still works in most top lids. Above that, you're likely carrying the binocular outside the pack.
Weight
Weight is cumulative. A 30-ounce pair doesn't sound heavy in your hand at the store, but after 12 miles and 3,000 feet of climbing, every ounce registers. The consensus from experienced backpackers: keep your total optics weight under about 24 ounces unless long glassing sessions are the trip's primary purpose.
| Magnification | Objective Lens (mm) | Weight Range | Best Camping Context |
|---|---|---|---|
| 8x–10x | 25–28 | 8–16 oz | Compact kits, fast hiking, emergency glass |
| 8x–10x | 30–36 | 15–21 oz | Versatile all-around camping |
| 8x–10x | 42 | 22–30 oz | Low-light wildlife, car camping, base camp |
| 12x+ | 42+ | 28 oz+ | Needs support; not ideal for backpacking |
Key Features That Survive Camping Conditions
Size gets the binoculars into your pack. Build quality keeps them working once you're out there.
Weather Resistance
Camping exposes optics to rain, condensation, dust, and sudden temperature swings between a warm tent and cold morning air. Two features matter here:
- Waterproof construction: Look for models explicitly rated as waterproof, typically achieved through internal seals and o-rings.
- Fog-proofing: Interior fogging happens when moisture trapped inside the body condenses on lens surfaces. Reputable manufacturers purge the interior with nitrogen or argon gas and seal it, preventing internal fog entirely.
A common mistake is assuming "water-resistant" means "waterproof." It doesn't. For camping, choose genuinely waterproof and fog-proof optics. If you've already got a pair that fogs internally, clearing internal fog from your birding binoculars is possible, but prevention is far better than repair.
Durability and Armoring
Camp binoculars get knocked against trekking poles, dropped onto granite, and stuffed into crowded pockets. Rubber armoring provides impact absorption and a more secure grip in wet or gloved hands. Internally, look for a frame made from polycarbonate or lightweight metal alloys such as aluminum or magnesium, which resist flex without excessive weight.
Eye Relief and Glasses Compatibility
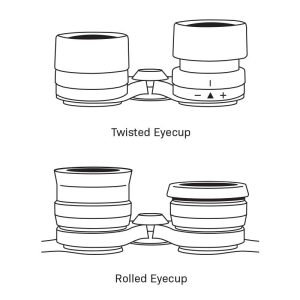
If you camp in sunglasses or prescription eyewear, eye relief is non-negotiable. Eye relief describes the maximum distance your eye can sit from the eyepiece while still seeing the full field of view. Look for at least 15mm of eye relief if you wear glasses. Models designed explicitly for spectacle wearers typically provide 16mm to 20mm and include adjustable twist-up eyecups.
Focus Mechanism and Ease of Use
Camping means gloves, cold fingers, and one-handed operation while holding a trekking pole. A smooth, centrally located focus wheel makes quick adjustments possible without putting down gear. If birding is part of your camping activity, practicing fast focus technique for birding optics before your trip pays off the first time a warbler appears.
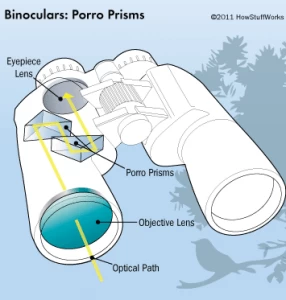
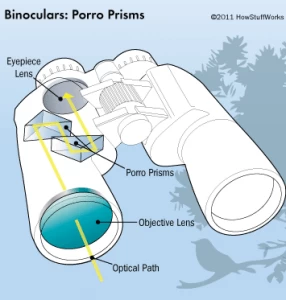
 Roof prism designs dominate camping optics because their straight barrels pack flatter than porro prism alternatives.
Where Binoculars Actually Go in a Camping Backpack
Storage location determines not just whether the binoculars fit, but whether you'll use them.
Top Lid Pocket
The most common and practical location. Most modern backpacks feature a floating top lid with enough volume for a 6-inch folded binocular. The advantage: you can remove the lid, set it down, and access optics without unloading anything else. Mid-size 8×32 models fit here comfortably; some slim 8x42s will too.
Hip Belt Pockets
For ultralight setups, a compact 8×25 or 10×25 fits directly in a hip belt pocket. This places optics within instant reach without removing the pack at all. The trade-off is optical performance: 25mm lenses struggle in low light.
Exterior Side or Stretch Pockets
Many packs feature stretch mesh pockets designed for water bottles. A compact or slim mid-size binocular fits, protected minimally by the mesh. Consider adding a lightweight padded case or dry bag if using this location, since the binoculars sit exposed to branches and rock scrapes.
Chest Harness or Binocular Case
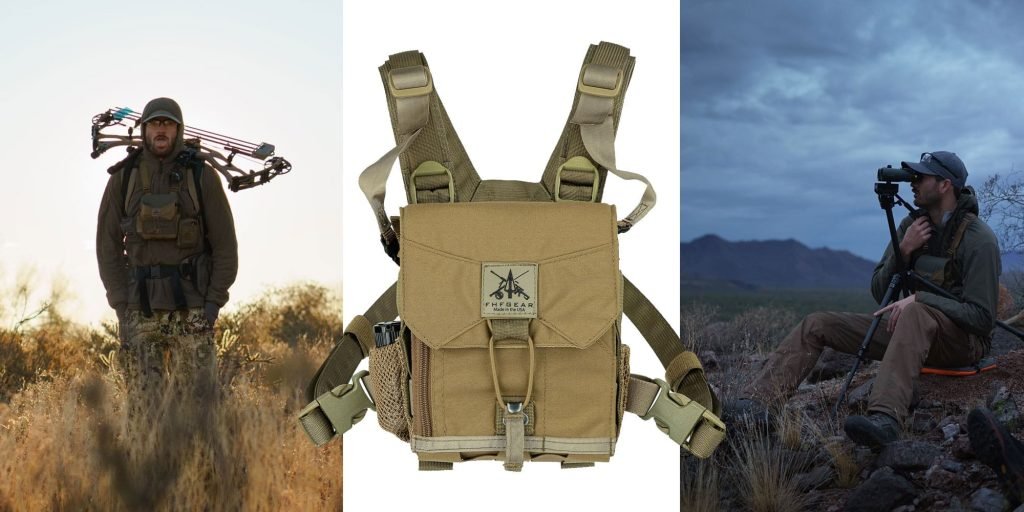
Some campers prefer a dedicated chest harness that holds binoculars against the sternum. This keeps optics accessible and protected, though it adds a strap system and can interfere with layered clothing. For a deeper look at trail carry options, review practical methods for transporting birding binoculars on hikes.
Padded Cases and Protection
A small, padded case is worth its modest weight. It prevents dust from entering the focus mechanism, shields lenses from scratches when pressed against cookware, and absorbs minor impacts. Many cases include belt loops or daisy-chain attachment points that integrate cleanly with pack webbing.
Matching Binoculars to Your Camping Style
The "right" size depends less on the optics themselves and more on how you camp.
Ultralight and Thru-Hiking
Priority: minimum weight and volume. Recommended: 8×25 or 10×25 compact roof prism models under 12 ounces. Why: You're counting grams, and every ounce removed from base weight extends range. Accept the dimmer image in exchange for a pair that's always with you. Consideration: Some thru-hikers skip binoculars entirely and carry a monocular. That's a separate trade-off—less comfortable viewing but even smaller and lighter.
Weekend Backpacking
Priority: balance of performance and packability. Recommended: 8×32 or 10×32 mid-size models between 15 and 21 ounces. Why: You still carry everything for self-supported camping, but wildlife watching is part of the fun. A 32mm objective gathers enough light for reliable dawn and dusk viewing without dominating pack space.
Car Camping and Base Camp
Priority: optical performance and viewing comfort. Recommended: 8×42 or 10×42 full-size models, plus a tripod adapter if you plan extended observation. Why: Weight matters less when the pack travels from car to picnic table. You get a brighter, steadier image and more comfortable eye relief for long glassing sessions. Consideration: If serious wildlife observation is a core activity, a dedicated spotting scope for birding at base camp pairs beautifully with compact binos on day hikes.
Family Camping with Kids
Priority: durability, simplicity, and appropriately sized optics for smaller hands. Recommended: A rugged 8×28 or 8×32 adult pair for shared use, plus a lightweight kid-specific model if children want their own. Why: Kids drop things. Rubber armoring and a forgiving focus system prevent frustration. Understanding the right magnification level for children avoids handing a child a heavy, over-magnified instrument they can't hold steady. Kid models also have different price expectations than adult hunting or birding glass.
Low-Light and Dawn/Dusk Viewing
Priority: light gathering. Recommended: 8×42 or 7×42 models, accepting the larger size. Why: Larger objective lenses collect more light. A 42mm lens delivers a 5.25mm exit pupil at 8x magnification, well matched to your eye's low-light pupil. If serious twilight observation is the goal, mid-range optics for low-light hunting offer a useful performance benchmark.
Optical Quality vs. Size: Where Compromise Hurts Least
Size and performance exist on a spectrum, but some compromises hurt more than others.
Tolerable compromises in compact optics:
- Slightly dimmer image in deep twilight
- Narrower apparent field of view
- Less stable image in wind
Compromises to avoid:
- Poor coatings on an already-small objective lens. A cheap 25mm pair loses far more light than a cheap 42mm pair.
- Excessively high magnification in a small body. A 12×25 sounds powerful but delivers a dark, shaky image.
- Flimsy focus mechanisms. On the trail, this fails quickly.
When comparing models in a store, look at a shadowed treeline near sunset. The difference between a well-coated mid-size pair and a budget compact becomes obvious quickly. Understanding how modern roof prism designs work helps you evaluate why some small binoculars outperform larger ones.
Top Size Categories Worth Considering
Rather than a single "best" pair, consider which category fits your primary camping pattern.
| Category | Example Configurations | Weight Range | Ideal Camper | Budget Note |
|---|---|---|---|---|
| Pocket Compact | 8×25, 10×25, 8×28 | 8–14 oz | Ultralight, thru-hike, backup | Most affordable; quality varies widely |
| Versatile Mid-Size | 8×32, 10×32 | 15–21 oz | Weekend backpacker, birder-camper | Good value for performance |
| Full-Size Bright | 8×42, 10×42 | 22–30 oz | Car camper, base camp, low-light glasser | Premium optics justify cost |
| Specialty Large | 10×50, 12×50 | 30–40 oz | Astronomy from camp, long-distance | Usually tripod-required |
If stargazing is part of your camping routine, a 10×50 configuration designed for astronomy changes the size calculus: the larger objective earns its bulk for night sky work. Similarly, budget-conscious campers can explore affordable stargazing options that still deliver satisfying views.
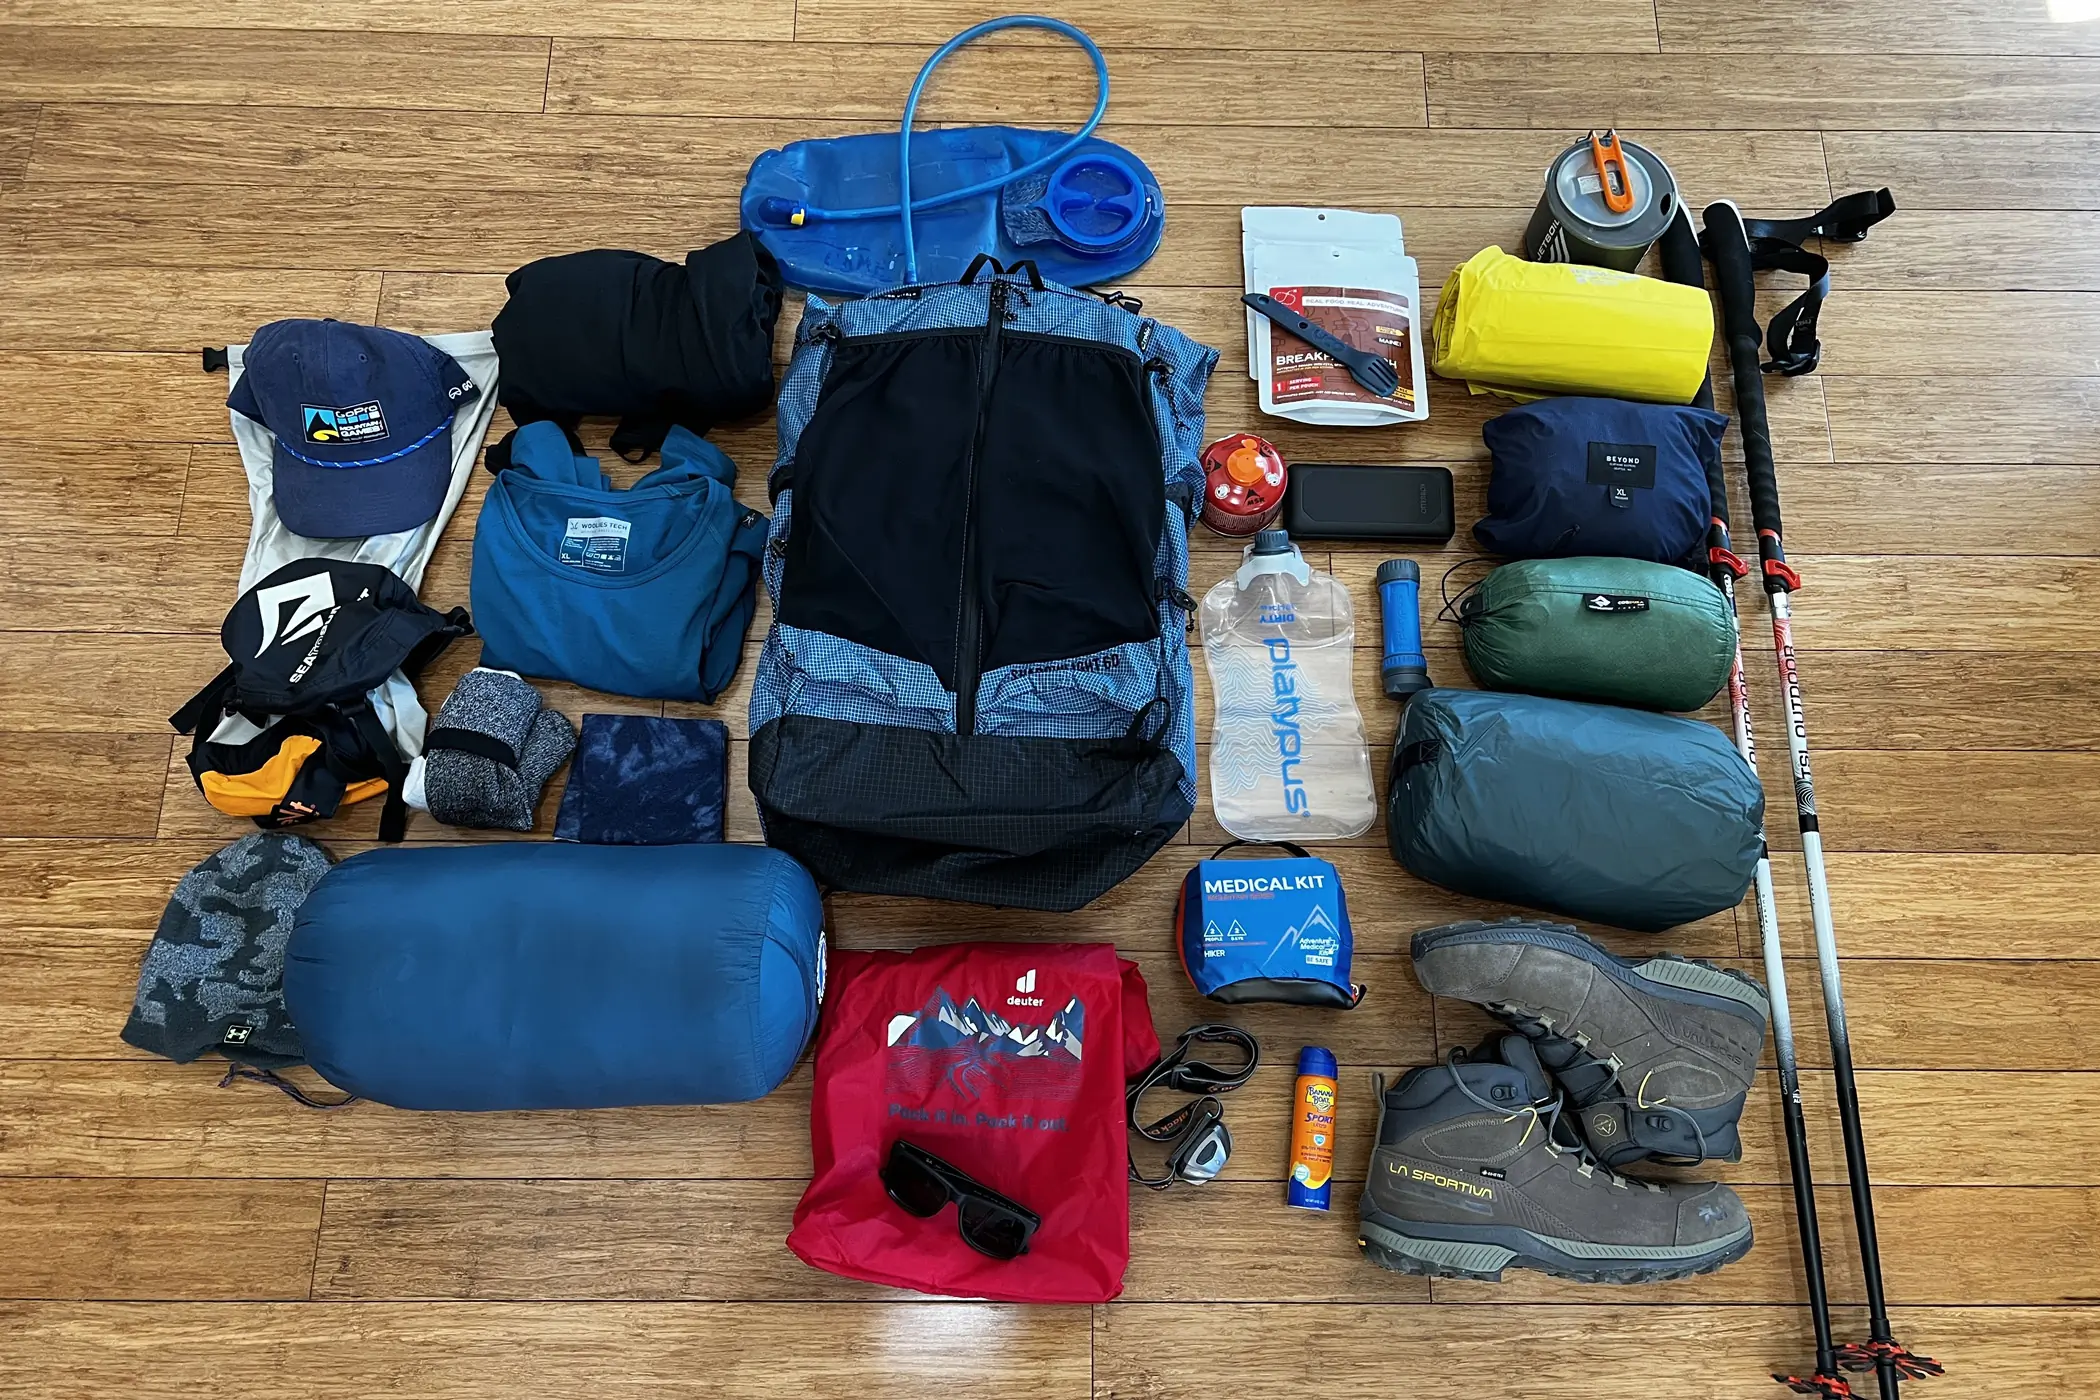
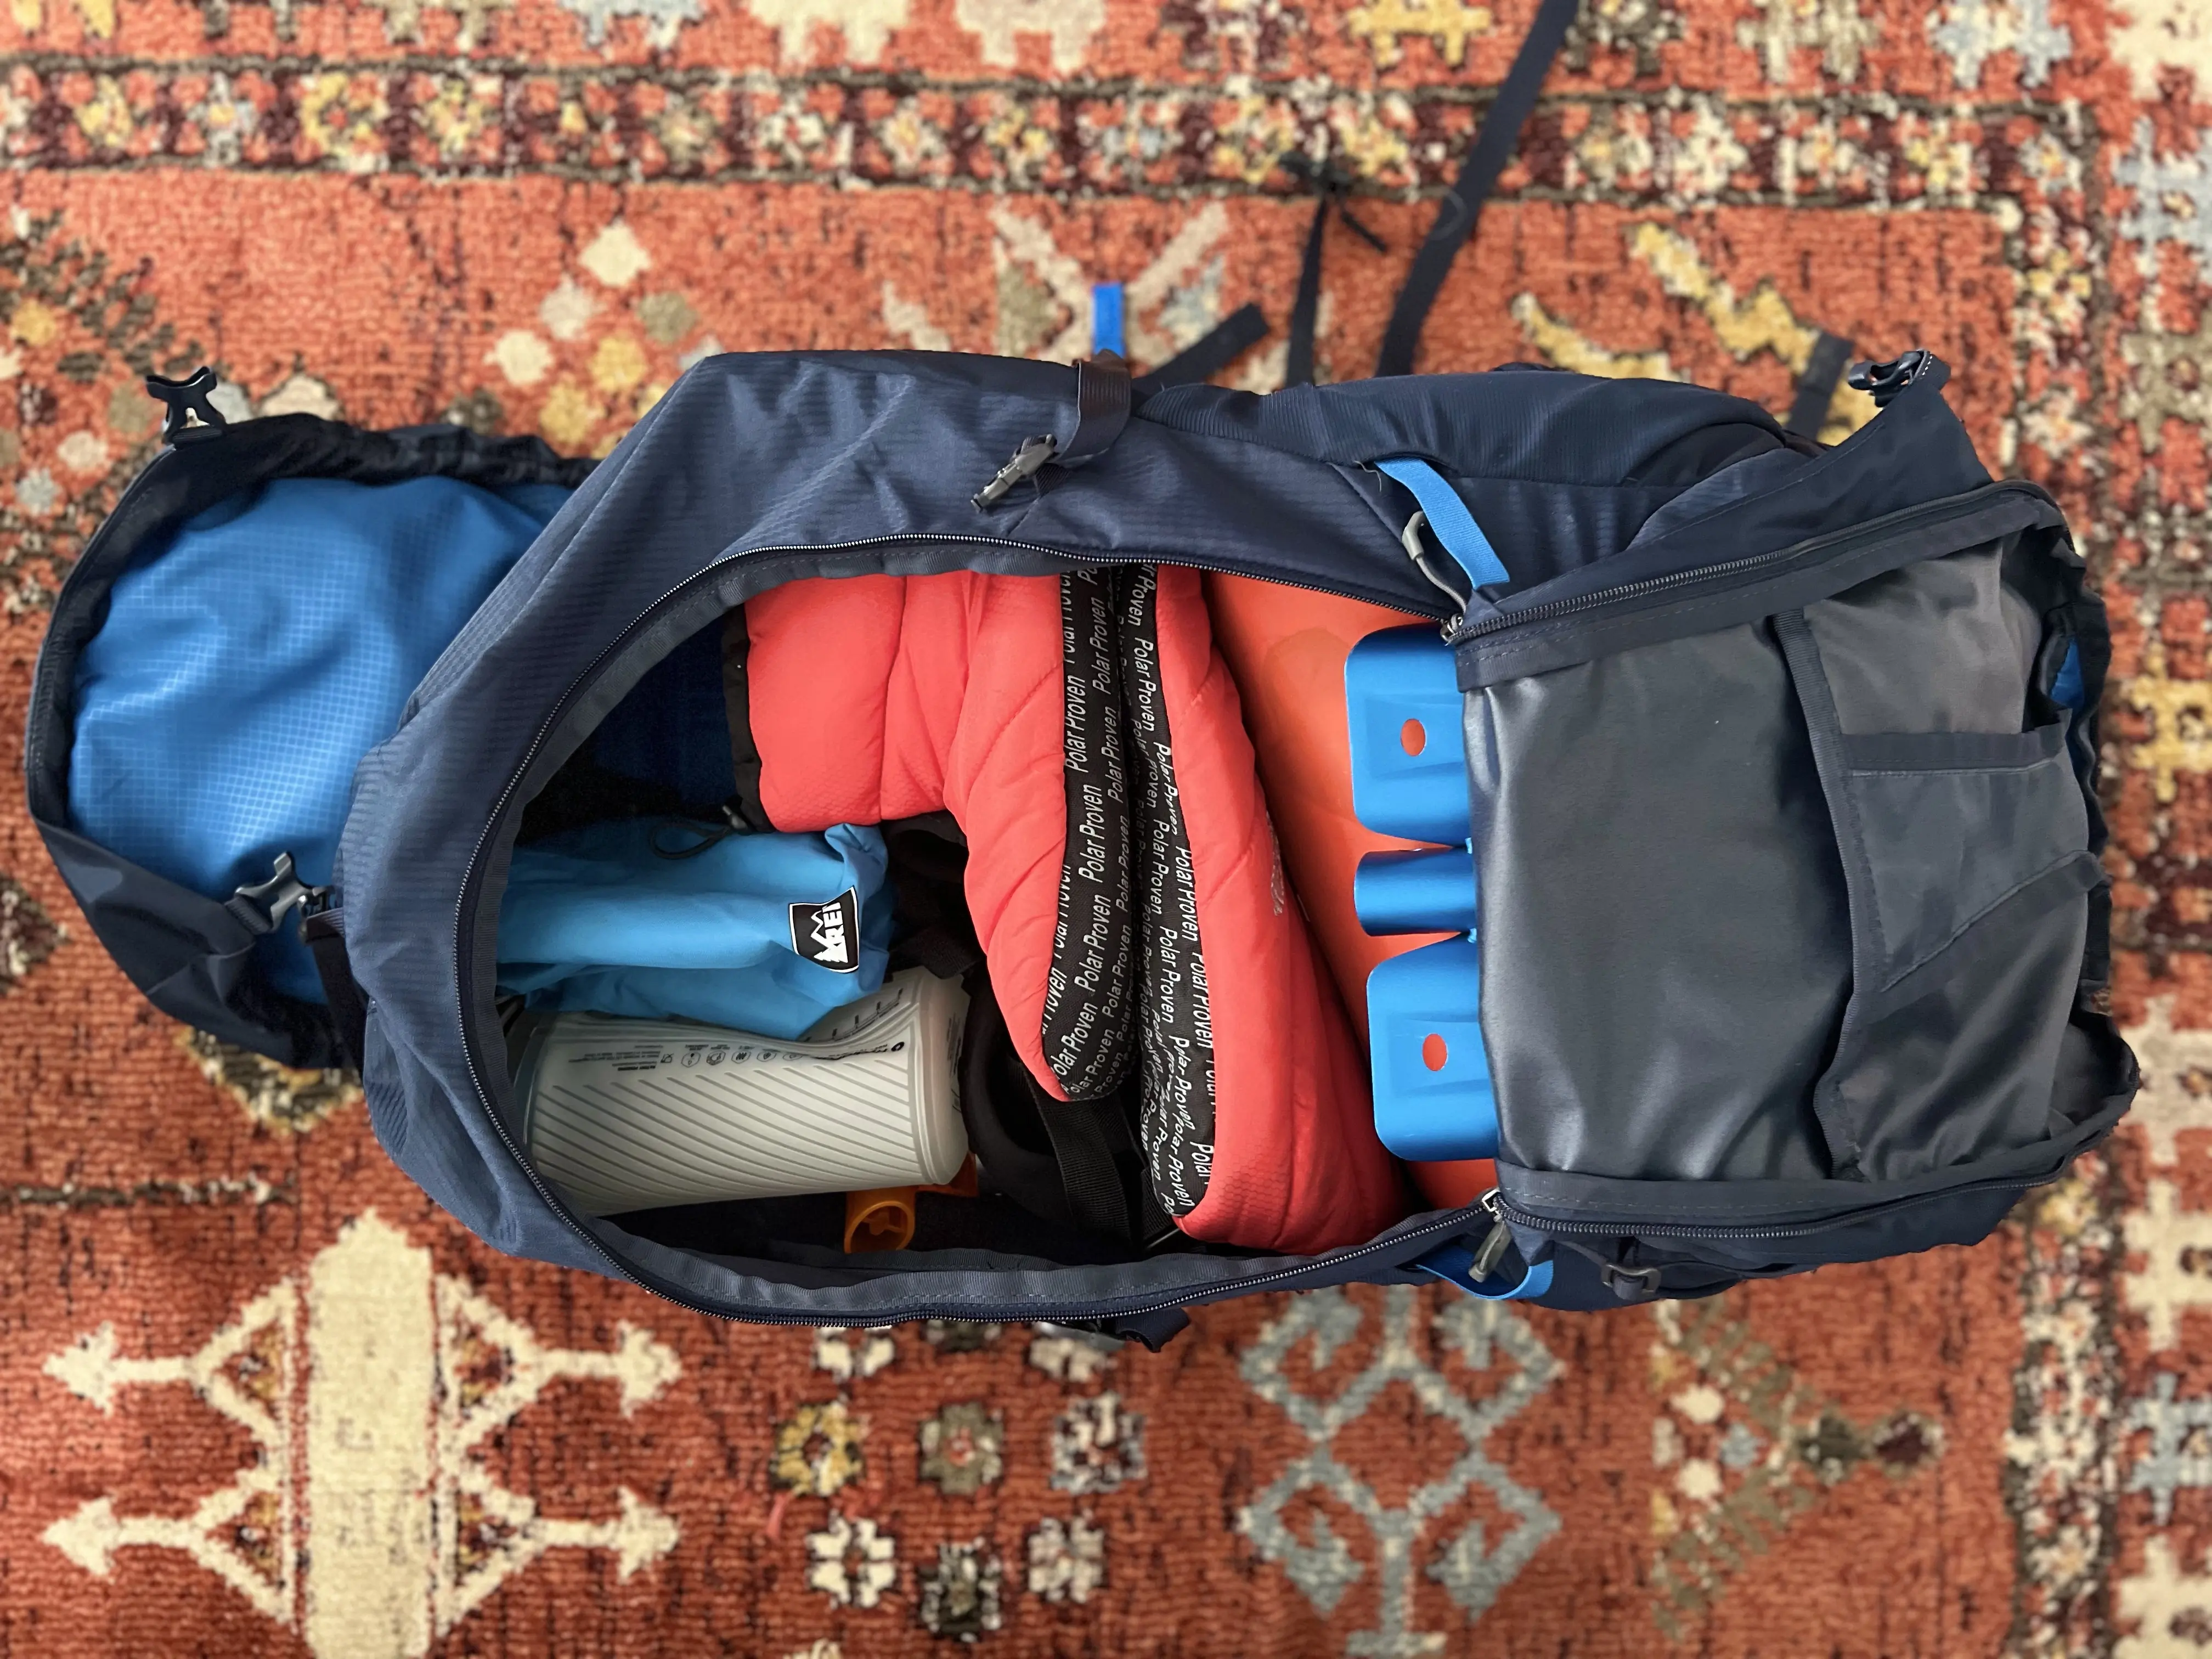
 A well-organized pack keeps compact optics in dedicated pockets rather than buried under clothing and cookware.
Practical Packing Tips from the Trail
Some hard-won lessons from actual camping trips:
- Pack binoculars last, not first. They're a frequently accessed item. Burying them under a sleeping bag means you'll stop using them.
- Use a quick-release strap or clip. A small carabiner or magnetic release lets you detach the binocular from your neck or pack instantly when you sit down for a meal.
- Protect the eyepieces. The exposed eyepiece lenses are the most vulnerable surface. A rainguard cap or a folded bandana over that end prevents scratches from zippers.
- Keep a cleaning cloth accessible. Trail dust accumulates quickly. A microfiber cloth in the same pocket prevents the temptation to wipe lenses with a shirt—which causes micro-scratches over time.
- Test the fit before the trip. Load your pack fully, then attempt to retrieve the binoculars while wearing it. If you can't do it in under ten seconds, relocate them.
Regular field care matters too. Once you're home, proper cleaning and maintenance of coated optics extends the life of any pair, and the same principles apply to adult camping glass. If a pair sustains damage on the trail, many issues are repairable with basic tools and patience.
Common Mistakes to Avoid
Even experienced campers make these errors:
- Buying for the extreme case. You might encounter a moose at 400 yards once. You'll carry the extra pound every single mile. Buy for the realistic majority of your trips.
- Ignoring folded dimensions. Two 8×42 models can have very different profiles. One folds to 5.5 inches; another stays at 6.8. The smaller one actually gets packed.
- Choosing magnification over field of view. In dense forest, a wide view helps you find and follow animals. High magnification narrows your visual window and magnifies shake.
- Skipping weatherproofing. One rainy weekend fogs an unsealed pair permanently. Waterproof and fog-proof features are not optional for camping.
- Carrying without protection. Unprotected binoculars in a stretch pocket are one rock scrape away from a scratched objective lens.
Frequently Asked Questions
What size binoculars fit best in a typical camping backpack?
In practice, 8×32 or 10×32 mid-size models fit best for most campers. They fold to roughly 4.5 to 5.5 inches, weigh under 21 ounces, and slide easily into a top lid or side pocket while still delivering bright, steady views. Compact 8×25 models fit even more easily but sacrifice low-light performance.
Are 10×42 binoculars too big for backpacking?
Not necessarily, but they push the limit. A slim 10×42 roof prism model can fit in a large top lid, but it weighs 24 ounces or more and takes up meaningful volume. For multi-day backpacking where weight matters, a 10×32 is usually a better fit. Reserve 10×42 for car camping or trips where glassing is a primary activity.
Should I choose 8x or 10x magnification for camping?
8x is generally easier to hand-hold steady, provides a wider field of view, and performs slightly better in low light. 10x offers more reach at the cost of some stability and field width. For forested campsites, 8x is the safer default. For open country or ridgeline scanning, 10x earns its place.
Can I carry binoculars on my backpack strap instead of inside?
Yes. A chest harness or strap-mounted case keeps optics accessible and protected while freeing interior pack space. The trade-off is added hardware and potential interference with layered clothing. It's a popular solution for birders who camp.
What's the minimum lens size for decent camping binoculars?
For daylight use, 25mm is workable. For dawn, dusk, or shaded forest viewing, 30mm or 32mm is a meaningful improvement. Below 25mm, images become noticeably dim and eye comfort suffers.
Conclusion
The optimal camping binocular size balances three factors: your pack's available space, the type of camping you do, and the lighting conditions you expect.
For most campers, a mid-size 8×32 or 10×32 roof prism model is the clear answer. It folds small enough for a top lid pocket, weighs under 21 ounces, and delivers a view bright enough to justify every ounce. Ultralight hikers can drop to an 8×25; car campers with room to spare can step up to an 8×42.
What matters most is choosing a size you'll actually carry. A heavy, high-performance pair that stays in the car provides less value than a modest compact that rides in your pack every single trip. Match the optics to your real camping pattern, not an imagined extreme, and you'll have the right glass within reach when the moment matters.
Ready to narrow it down? Start with waterproof and fog-proof models in the 8×32 class, compare folded dimensions, and test the fit in your own pack before committing.