Are your photos or videos coming out blurry, even when you try to stay still? Image stabilization is supposed to keep your shots clear and steady, but when it stops working, it can be frustrating.
You might wonder why your camera or phone isn’t doing its job. The good news is, many common issues with image stabilization can be fixed quickly. You’ll discover easy steps to troubleshoot and solve these problems. Keep reading, and you’ll soon be capturing sharp, smooth images again—no more shaky shots holding you back.
Credit: tensorpix.ai
Common Causes Of Image Stabilization Problems
Camera settings errorsoften cause image stabilization problems. Incorrect settings like turning off stabilizationor using the wrong mode can make pictures blurry. Check if the image stabilization feature is enabledand set correctly for your shooting style.
Hardware malfunctionsalso affect stabilization. Worn or damaged parts inside the lens or camera body can stop the system from working well. Dust, dirt, or impact damage may cause the hardware to fail. Regular cleaning and careful handling help prevent these issues.
Environmental factorsplay a big role too. Strong wind, shaky surfaces, or fast movement can overwhelm the stabilization system. Low light and long zoom also make it harder for the camera to stay steady. Using a tripod or stabilizer can reduce these problems.
Quick Fixes For Camera Settings
Adjusting shutter speedhelps reduce blur caused by shaky hands. Use a faster speed for moving subjects. Slower speeds need a tripod for steady shots. Watch for lighting; fast speeds need more light.
Tweaking ISO levelschanges camera sensitivity to light. Higher ISO brightens dark scenes but adds noise. Keep ISO low for clear images. Balance ISO with shutter speed for best results.
Using manual focusgives control over sharpness. Autofocus can struggle in low light or with moving objects. Turn the focus ring slowly to get the clearest image. Practice makes it easier to use manual focus well.
Resolving Hardware Issues
Check if the lens supports image stabilization. Not all lenses have this feature. Using an incompatible lens can cause problems.
Look for any physical damage or loose parts on the lens mount. This can stop the stabilization from working properly.
Inspect the camera sensor for dirt or damage. A dirty sensor may affect image quality and stabilization.
Test the sensor by taking photos without stabilization. If images are blurry, the sensor might be faulty.
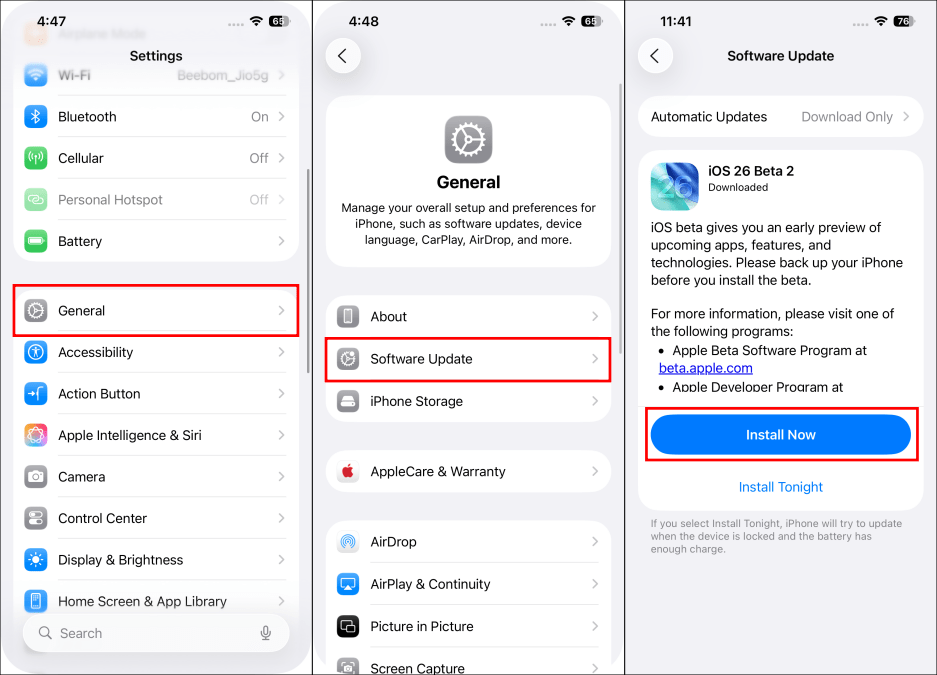
Make sure the camera firmware is up to date. Firmware updates often fix bugs related to stabilization.
Visit the camera manufacturer’s website to download the latest firmware. Follow their instructions carefully to install it.

Credit: www.youtube.com
Overcoming Environmental Challenges
Low lightcan make image stabilization less effective. Use a tripod to keep the camera steady. Increase ISO settings but avoid too much noise. Use a faster lens to let in more light. Keep your hands steady and breathe out slowly while shooting.
Movement and vibrationaffect image sharpness. Hold the camera close to your body for better support. Use built-in stabilization features if available. Avoid shooting in moving vehicles unless stabilized equipment is used. Walk carefully to reduce camera shake.
Weather impactslike wind, rain, or cold can cause problems. Protect your camera with a rain cover or plastic bag. Use a lens hood to reduce wind effects. Warm your hands before shooting in cold weather to avoid shaking. Clean lenses often to prevent water spots.
Using External Stabilization Tools
Tripods and monopodshelp keep the camera steady. Tripods have three legs and offer strong support. Monopods have one leg and are easier to carry. Both reduce camera shake and improve image quality. Use tripods for long exposures or video shooting. Monopods are good for moving shots and quick setups.
Gimbals and stabilizersuse motors and sensors to balance the camera. They reduce shakiness while walking or moving. Gimbals work well for smartphones, cameras, and drones. Stabilizers are useful for smoother video footage. Both tools help capture clear and steady images.
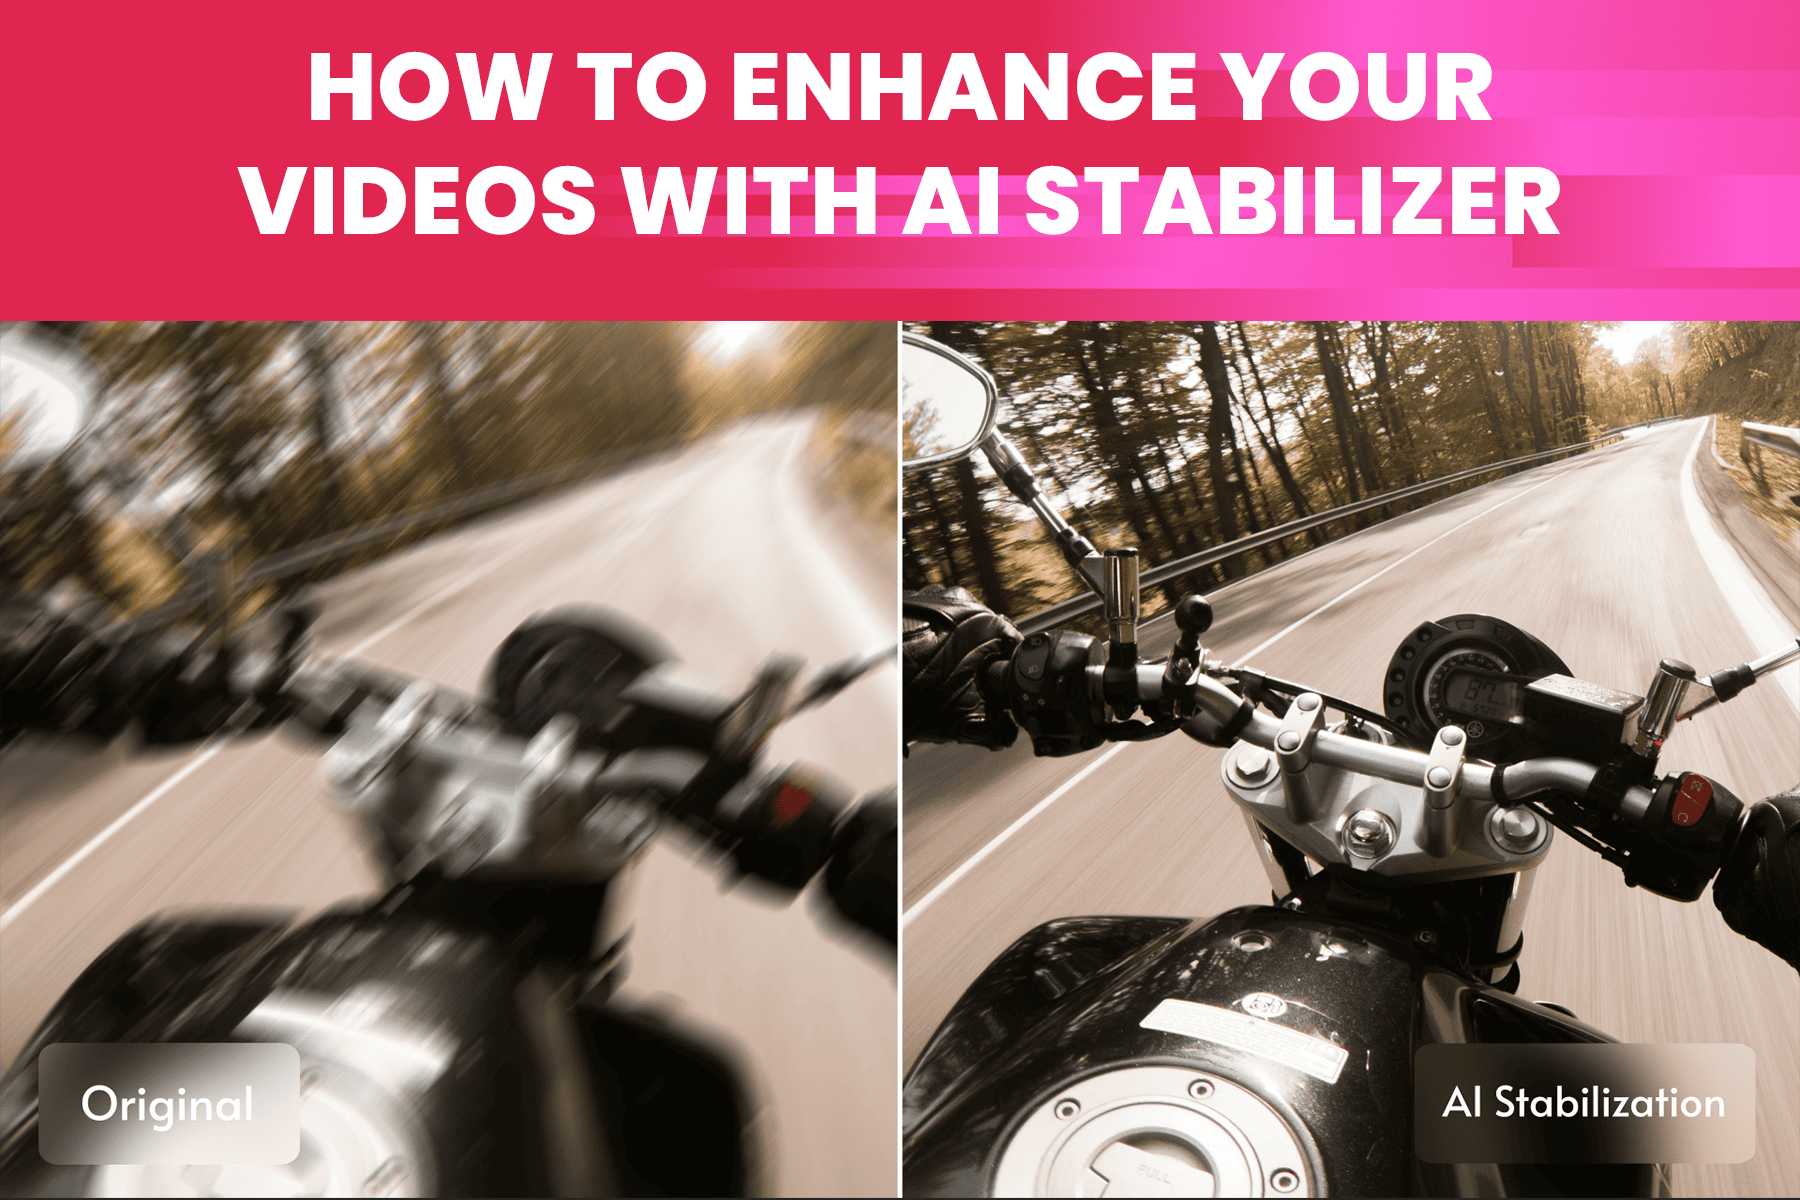
Software solutionsfix shaky images after shooting. Many apps and programs can stabilize video and photos. They analyze movement and correct blurs. Some popular software includes Adobe Premiere Pro and Final Cut Pro. Using these tools can improve image stabilization when hardware is not enough.
Credit: beebom.com
Professional Tips For Better Stabilization
Advanced shooting techniqueshelp improve image stabilization. Use a tripod or steady surface to reduce shake. Hold the camera with both hands for better control. Try slower shutter speeds carefully to avoid blur. Use the camera’s built-in stabilization features properly. Practice smooth panning when following moving subjects. Keep your elbows close to your body for more stability.
Learning from expertsoffers valuable insights. Watch tutorials and read guides from photographers. Observe how they handle different situations. Note their tips on hand positioning and camera settings. Join photography groups to ask questions and share experiences. Learning from others shortens your trial and error time.
Continuous practice and experimentationare key to success. Take photos in various light and weather conditions. Test different settings and lenses to see what works best. Review your images to spot patterns in stabilization errors. Make adjustments based on what you learn. Frequent practice builds muscle memory and confidence.
Frequently Asked Questions
What Causes Image Stabilization To Stop Working?
Image stabilization may fail due to software glitches, hardware damage, or incorrect settings. Dust or debris can also affect sensors. Regular maintenance helps avoid issues. Updating firmware often resolves software problems quickly. Checking settings ensures stabilization is enabled properly.
How Do I Fix Shaky Images With Stabilization On?
First, verify image stabilization is activated in the camera or lens settings. Clean the lens and sensor gently. Restart your device to reset software. If problems persist, update firmware or consult the manufacturer for repairs.
Can Firmware Updates Improve Image Stabilization?
Yes, firmware updates often enhance stabilization performance. They fix bugs and optimize hardware usage. Regularly updating ensures your device uses the latest improvements. Always follow official instructions when updating firmware to avoid errors.
Why Does Image Stabilization Cause Blurry Photos Sometimes?
Blurriness can occur if stabilization compensates incorrectly for movement. This might happen in low light or with fast shutter speeds. Using a tripod or increasing shutter speed can reduce blur. Adjusting stabilization settings may also help.
Conclusion
Troubleshooting image stabilization issues takes patience and careful steps. Start by checking your device settings and firmware updates. Clean the lens and sensor to avoid blurry images. Test different modes to find what works best. Remember, small fixes often solve big problems.
Keep practicing and adjusting for clearer, steadier shots. Your photos will improve with time and attention. Don’t give up—better images are within reach.