Unlock the Full Potential of Your Hunt: A Step-by-Step Guide to Using Hunting Scopes with Digital Cameras Are you tired of missing that perfect shot due to poor visibility or difficulty in tracking your target? Do you struggle to capture high-quality images of your hunting adventures?
If so, you’re not alone. Many hunters face these challenges, but there’s a simple solution: combining hunting scopes with digital cameras. By learning how to use these two technologies together, you can take your hunting to the next level and capture stunning images of your prey.
We’ll show you how to seamlessly integrate your hunting scope with your digital camera, giving you the edge you need to succeed. So, if you’re ready to upgrade your hunting experience and take home incredible photos, keep reading to discover the secrets of using hunting scopes with digital cameras.
Choosing The Right Hunting Scope
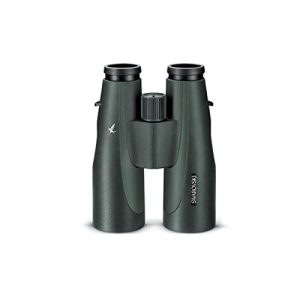
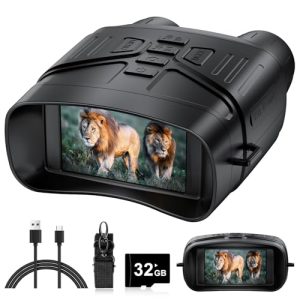
Hunting scopes come in many types. There are fixed and variable scopes. Fixed scopes have a set magnification. Variable scopes can zoom in and out. Choose the type that suits your needs.
Magnification helps you see far objects clearly. Lens size affects light and clarity. Bigger lenses let in more light. Choose a scope with the right magnification and lens size.
Reticles are the crosshairs in scopes. They help you aim better. Some reticles have dots or lines. Choose a reticle that fits your hunting style.
Hunting is tough. Your scope must be strong. It should resist rain and dust. Check if the scope is waterproof. Durable scopes last longer in wild conditions.

Credit: www.outdoorlife.com
Selecting A Compatible Digital Camera
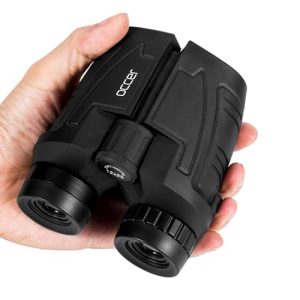
Choosing a digital camera that fits well with your hunting scope is key. Ensure the camera lens aligns properly for clear, focused images through the scope. Compatibility helps capture sharp wildlife photos without extra hassle.
Camera Types For Scoping
DSLR and mirrorless cameras work well with hunting scopes. Compact cameras fit easily but may lack some features. Action cameras are small and rugged, good for outdoor use.
Resolution And Sensor Size
Higher resolution gives clearer images. Larger sensors capture more light, improving image quality. Balance resolution and sensor size based on your needs.
Connectivity Features
Wi-Fi and Bluetooth help transfer photos quickly. USB ports allow easy connection to the scope. Check if the camera supports remote control for easier use.
Portability And Weight
Light cameras reduce fatigue during long hunts. Compact size fits better on scopes. Choose a camera that feels comfortable to carry and handle.
Mounting Your Camera To The Scope
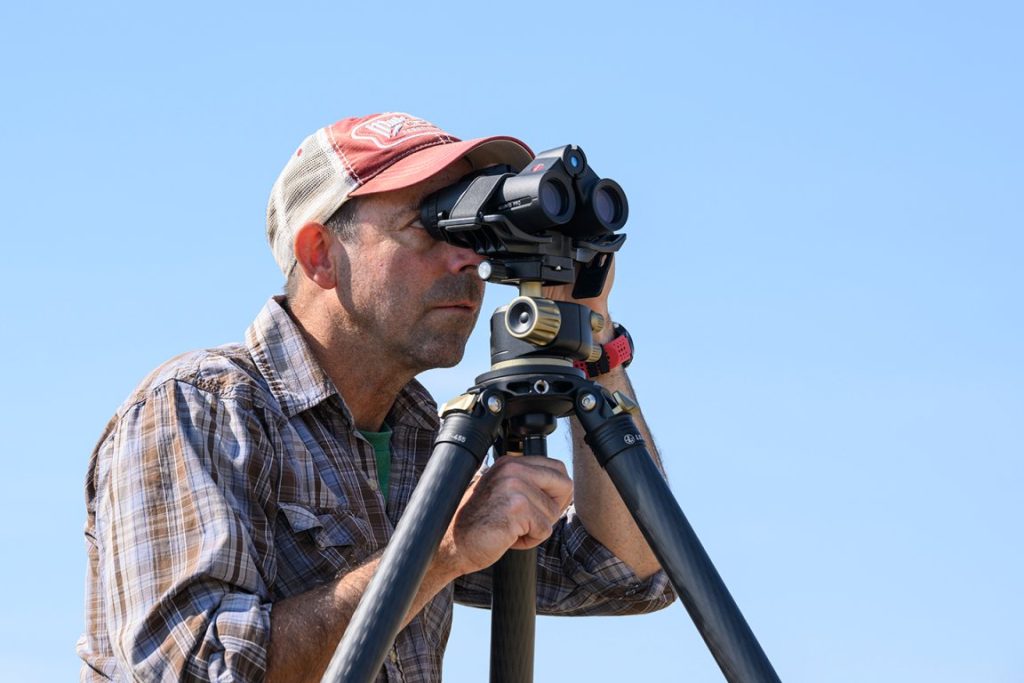
Adapters and mounting kits help connect your camera to the scope. Choose one that fits both devices well. Some kits come with adjustable brackets for better alignment.
Aligning the camera lens with the scope’s eyepiece is important. Make sure both lenses line up perfectly. This reduces blurriness and makes your photos clear.
Secure the setup tightly using screws or clamps. Loose parts cause misalignment and poor image quality. Check all connections before use.
To avoid vibration and shake, use a stable tripod or mount. This keeps the camera steady during shooting. Even small movements can blur your pictures.
Credit: www.longshotcameras.com
Camera Settings For Scope Photography
Set the focuscarefully for sharp images. Use the scope’s zoom to frame your subject clearly. Adjust the camera zoom to match the scope’s view. This helps capture fine details without blurriness.
Choose a low ISOto reduce noise. Bright environments allow ISO 100-400. In low light, increase ISO but avoid grainy pictures. Adjust exposureto balance light and shadows for clear photos.
Using manual modegives full control over settings. Set aperture, shutter speed, and ISO by hand. This helps adapt to changing light and distance. It ensures consistent, high-quality shots.
- Use a tripod or stable surface to avoid shake.
- Use a remote shutter or timer to reduce vibration.
- Keep the scope steady by holding it firmly or using mounts.
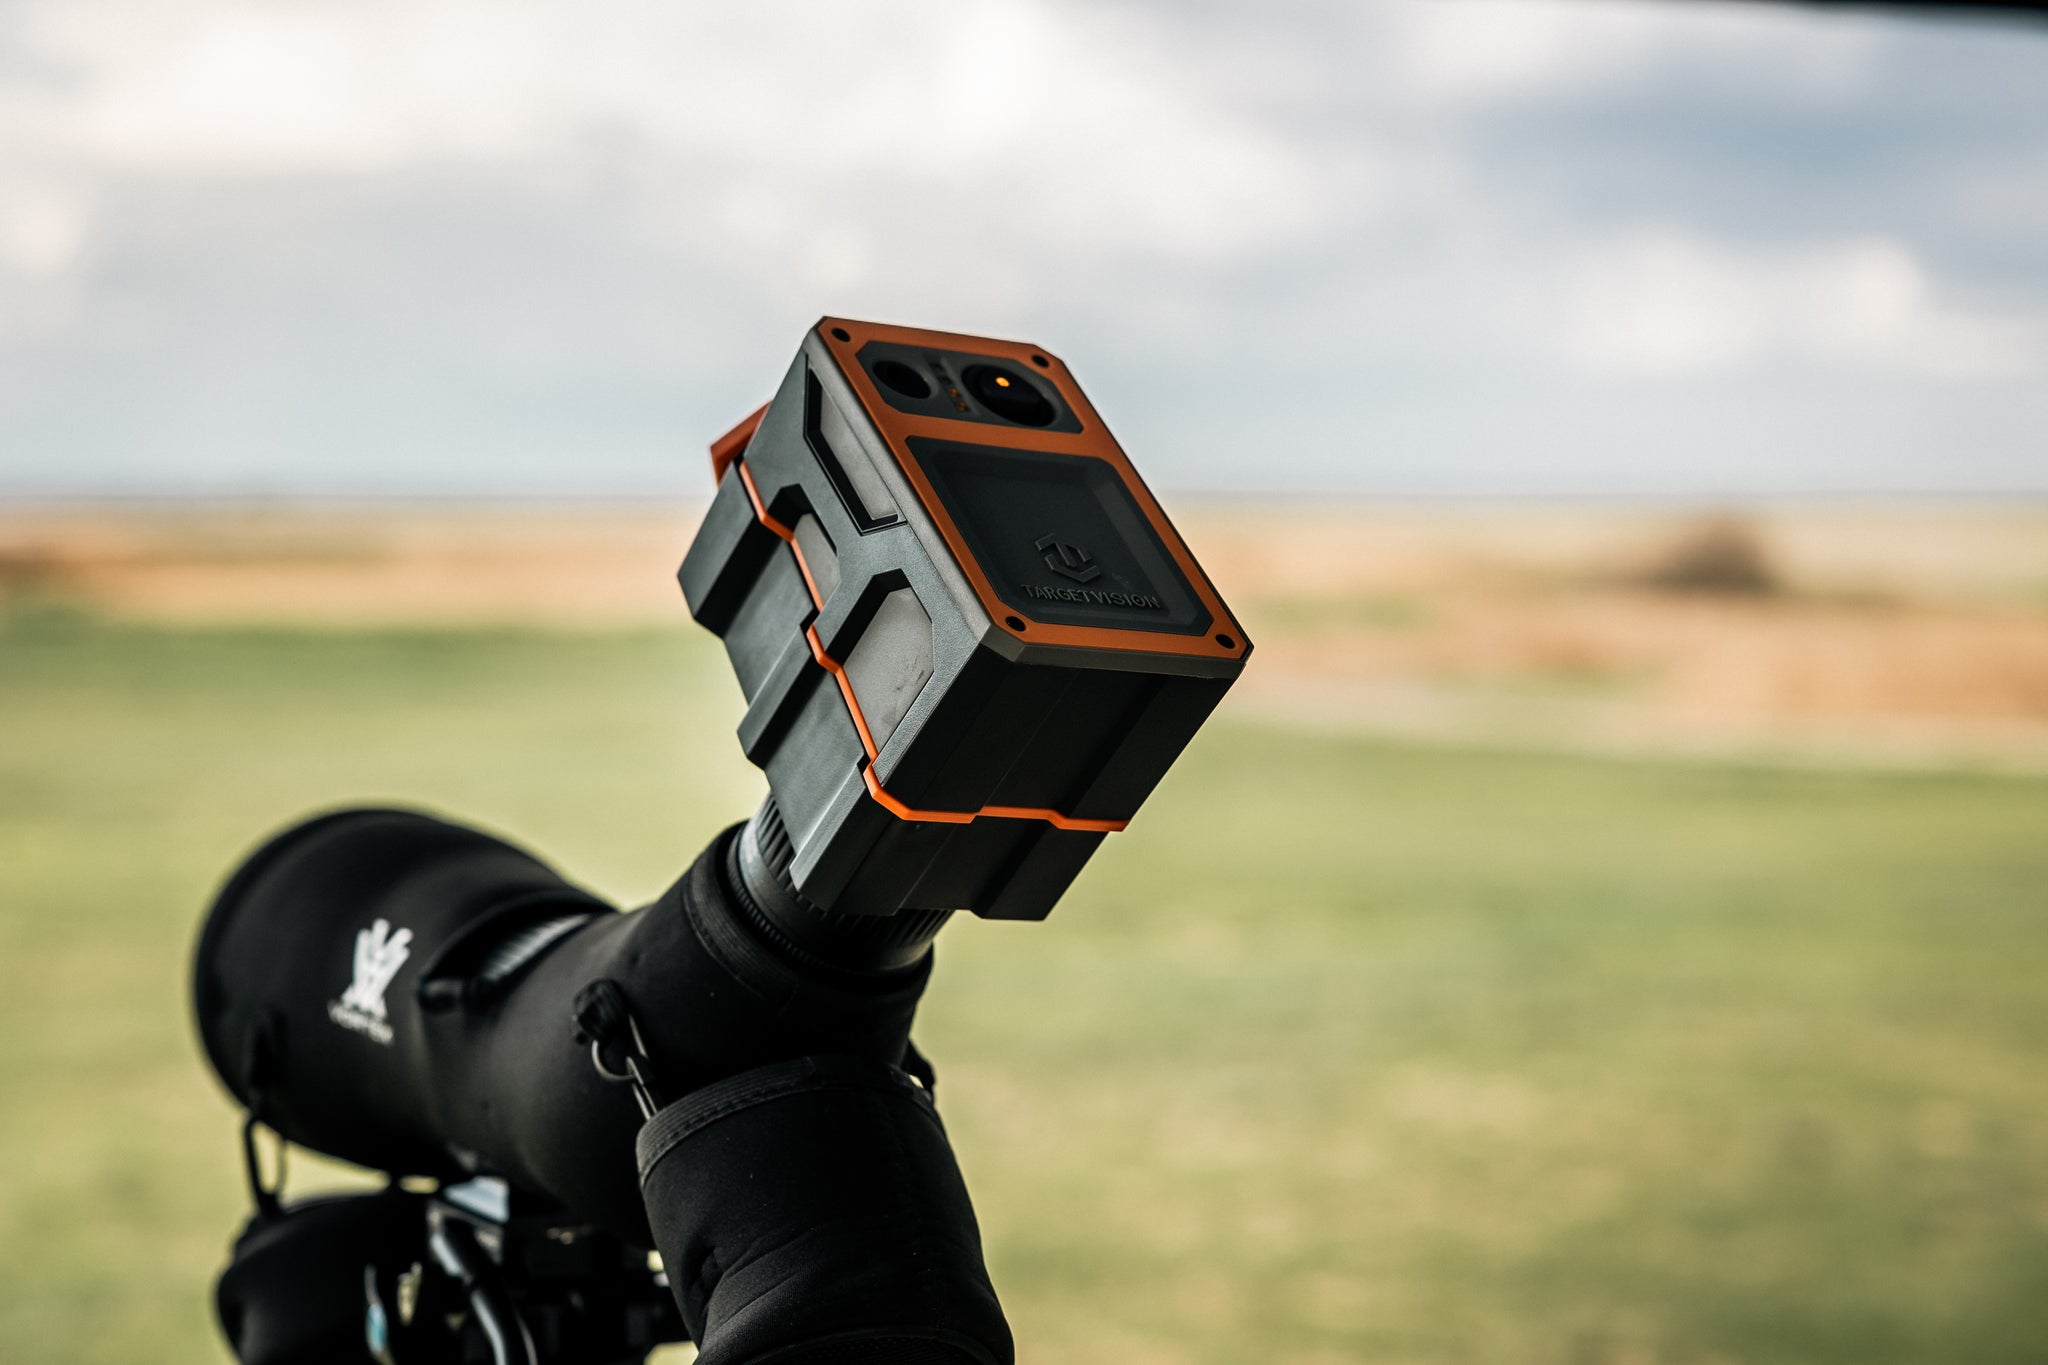
Capturing Clear Images Through The Scope
Good lighting helps capture clear imagesthrough a hunting scope. Bright but soft light reduces shadows and glare. Avoid harsh sunlight as it can create reflections and blur. Early morning or late afternoon light works best for sharp pictures.
To minimize distortion, keep the camera lens aligned with the scope. Small movements cause image blur or warping. Use a stable mount or tripod to hold both steady. Check the focus on both the scope and camera.
- Center the target in the scope’s viewfinder.
- Adjust zoom to frame the shot tightly.
- Leave some space around the edges to avoid cropping important details.
Taking test shots helps check clarity and exposure. Review each photo for sharpness and adjust settings if needed. Try different angles and distances to find the best view. Repeat until the image looks crisp and well-lit.
Editing And Enhancing Scope Images
Basic image corrections help improve the clarity and quality of scope photos. Adjusting brightnessand contrastmakes images clearer. Fixing color balanceensures natural tones and removes unwanted color casts.
Sharpening enhances the edges of objects, making details more visible. Noise reduction removes grainy spots, especially in low-light images. Use these tools gently to avoid unnatural looks.
Cropping removes unwanted parts and focuses on the main subject. Proper framing guides the viewer’s eye to important areas. Try different crops to find the best composition.
| Software | Key Features | Ease of Use |
|---|---|---|
| Adobe Lightroom | Basic corrections, sharpening, cropping | Easy for beginners |
| GIMP | Free, noise reduction, advanced editing | Moderate learning curve |
| Snapseed | Mobile-friendly, simple tools | Very easy to use |
Tips For Successful Hunting Scope Photography
Practice is key to capture clear photos through a hunting scope. Spend time learning how to align the camera lens with the scope’s eyepiece. Patience helps to wait for the perfect moment and steady your hands.
Keep your equipment clean and well-maintained. Wipe lenses gently with a soft cloth to avoid scratches. Check all connections before use to ensure nothing is loose or damaged.
Traveling with your setup requires careful packing. Use padded cases to protect both the scope and camera. Secure straps and covers to avoid damage during transport.
Safety is important around firearms and equipment. Always keep the weapon unloaded when adjusting the camera or scope. Be aware of your surroundings and follow all hunting safety rules.
Credit: www.youtube.com
Frequently Asked Questions
How Do I Attach A Hunting Scope To A Digital Camera?
To attach a hunting scope, use a scope adapter or phone mount. Align the camera lens with the scope’s eyepiece for clear images. Ensure both devices are securely fastened to avoid movement during shooting.
What Camera Settings Work Best With Hunting Scopes?
Use manual focus to sharpen images through the scope. Set ISO low to reduce noise and adjust exposure for clarity. Shoot in RAW format for better editing flexibility later.
Can I Use Any Digital Camera With Hunting Scopes?
Most digital cameras with adjustable lenses work well. Compact cameras or DSLRs with manual focus offer better results. Check compatibility with your scope’s adapter before purchase.
How To Stabilize Images When Shooting Through Hunting Scopes?
Use a tripod or stable surface to reduce shake. Activate the camera’s image stabilization if available. Avoid touching the camera or scope during shooting to maintain sharpness.
Conclusion
Using hunting scopes with digital cameras can improve your photos a lot. You get clearer, closer shots of wildlife without disturbing animals. Make sure to align the camera lens and scope properly. Take time to practice and adjust settings for the best results.
Patience helps capture the perfect moment. This method brings nature’s beauty right to your screen. Keep experimenting to find what works best for you. Enjoy the process and the amazing pictures you create.