Are you staring at your night vision scope, but seeing nothing but darkness? It’s frustrating when your device fails right when you need it most.
Don’t worry—this doesn’t mean your scope is broken beyond repair. You can fix it. You’ll learn simple, step-by-step ways to troubleshoot your night vision scope and get it working again. Keep reading, because the solution might be easier than you think.
Your next night adventure depends on it.
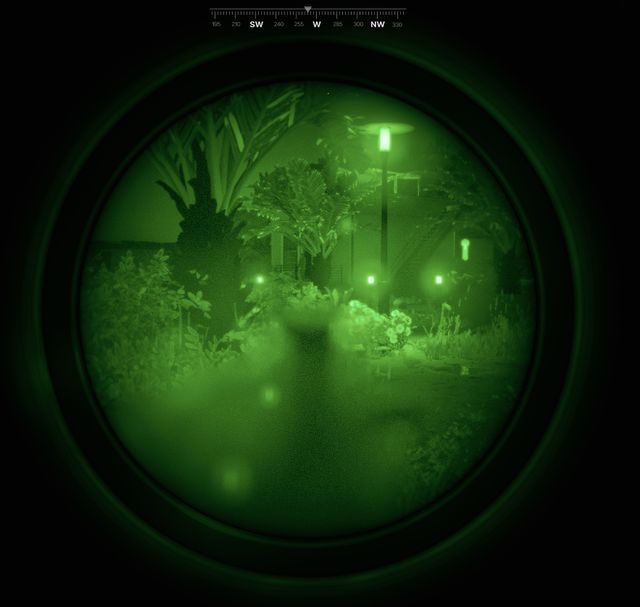
Credit: gununiversity.com
Common Causes Of No Image
Power issues or dead batteries often cause no image in night vision scopes. Loose connections and dirty lenses also block the view. Faulty internal components might stop the device from working properly.
Power Supply Issues
Check if the batteries are charged and properly inserted. Ensure the power button is switched on. A loose connection might cause the device not to work.
Lens Obstructions
Make sure the lens cap is removed. Dirt or dust can block the image. Clean the lens gently with a soft cloth.
Infrared Illuminator Problems
Verify if the infrared light is functioning. A faulty illuminator can cause darkness. Replace if necessary.
Internal Component Failures
Internal parts might be broken or damaged. Check for any signs of wear and tear. Seek professional help if needed.
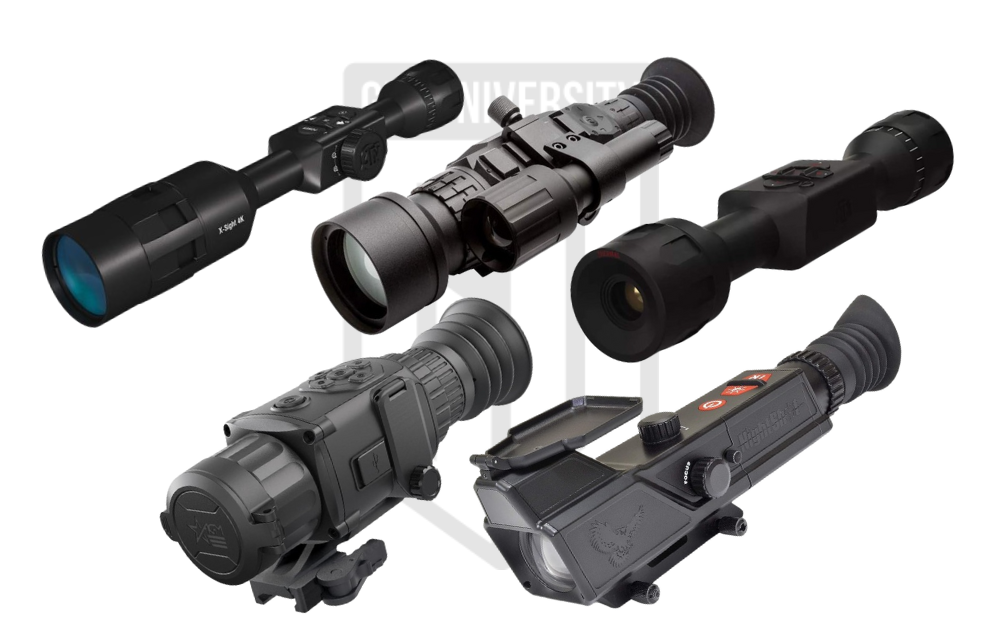
Credit: www.outdoorlife.com
Checking The Power Source
Check the batteriesfirst. Weak or dead batteries often cause no image. Remove batteries and look for corrosionor leaks. Replace old batteries with new, fresh ones. Make sure the batteries fit correctlyand match the device’s requirements.
Inspect the connection pointswhere the batteries touch the scope. Clean any dirt or rust using a soft cloth or cotton swab. Loose or dirty contacts can stop power flow. Ensure all contacts are tight and clean.
Using an external power supplycan help. Some night vision scopes support power from a battery pack or adapter. This option can save battery life and offer steady power. Check the scope’s manual for compatible external power sources.
Cleaning And Inspecting The Lens
Cleaning the lens removes dirt and smudges that block the image. Inspect the lens for scratches or damage that may affect vision. Proper lens care often restores clear night vision.
Removing Dirt And Debris
Use a soft, clean cloth to wipe the lens gently. Avoid using rough materials that can scratch. Blow air softly to remove dust before wiping. Never apply strong chemicals to the lens surface. Small dirt spots can block the night vision image.
Checking For Lens Damage
Look closely for scratches or cracks on the lens. Damaged lenses can cause blurry or no image. Shine a light through the lens to check clarity. If you find damage, the lens might need replacement.
Proper Lens Maintenance Tips
- Store the scope in a dry, cool place.
- Use lens caps when not in use.
- Clean the lens regularly but gently.
- Avoid touching the lens with fingers.
- Inspect the lens before each use for dirt or damage.

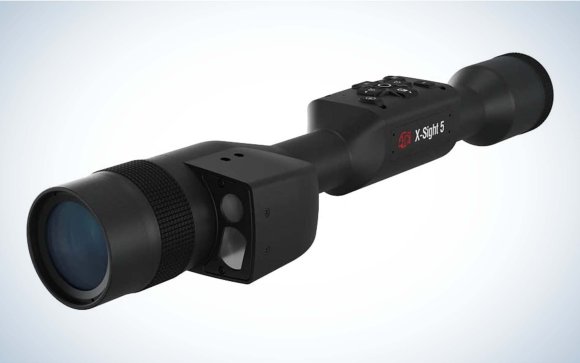
Credit: scopesfield.com
Testing The Infrared Illuminator
Check if the infrared (IR) illuminatorturns on with the scope. A glowing red light or faint glow is a good sign. Use a digital camera or smartphone camera to see IR light, as human eyes cannot see it. If no light appears, the IR bulb or LEDs might be faulty.
Replace any broken IR parts with new ones that match your scope’s model. Faulty components stop the IR light from working properly, so new parts can fix the problem. Be gentle when handling the illuminator to avoid damage.
Adjust the IR intensity settingson the scope. Too low intensity means no clear image. Turn the brightness knob slowly to find the best level. Some scopes have automatic adjustment; check if it is turned on or off.
Resetting And Recalibrating The Scope
Factory resetclears all settings and returns the scope to original state. This can fix many image problems. Always backup any important settingsbefore resetting. Reset steps vary by model but usually involve holding a button or using a menu option.
Software and firmware updatesimprove performance and fix bugs. Visit the manufacturer’s website to download the latest versions. Connect the scope to a computer or use a memory card to install updates. Updated software can restore image display issues caused by bugs.
Manual recalibrationadjusts the scope’s image alignment and brightness. Use the scope’s menu or buttons to access calibration settings. Follow the instructions in the user manual carefully. Proper recalibration ensures the image appears clear and centered. This may include adjusting focus, brightness, or contrast settings.
Inspecting Internal Components
Signs of circuit damageinclude burnt smells, discoloration, or visible cracks. These signs mean the scope’s internal parts may be broken. Carefully check the circuit board for any damage or corrosion. Small black spots or melted areas show problems.
Loose or broken connectionscan cause no image in night vision scopes. Gently shake the device and watch for flickering or no picture. Inspect the wiring and solder joints for breaks. Reconnecting loose wires might fix the issue.
Some problems need special tools or skills. Seek professional repairif the scope still shows no image after basic checks. Experts have the right equipment to fix delicate parts safely. Avoid opening the scope too much to not cause more damage.
Preventive Measures For Reliable Use
Keeping night vision scopes working well needs a regular maintenance schedule. Clean lenses gently with a soft cloth to avoid scratches. Check batteries often and replace them before they run out. Make sure to inspect the device for any physical damageor loose parts.
Proper storage practices help protect scopes from damage. Store them in a dry, cool placeaway from direct sunlight. Use a padded case to keep scopes safe during transport. Avoid leaving scopes in places with high humidity to stop moisture buildup.
- Always handle scopes with clean hands to prevent dirt buildup.
- Turn off the device when not in use to save battery life.
- Do not point scopes at bright lights; it can damage sensors.
- Follow the user manual for operating and care instructions.
Frequently Asked Questions
Why Is My Night Vision Scope Showing No Image?
A night vision scope may show no image due to dead batteries, loose connections, or lens obstructions. Always check the power source first. Inspect the lens for dirt or damage. Ensure all cables and mounts are secure for proper function.
How Do I Fix A Blank Screen On Night Vision Scopes?
To fix a blank screen, replace or recharge batteries. Clean the lens and sensor gently. Reset the device if possible. Check for firmware updates. If issues persist, consult the manufacturer or a professional technician.
Can Environmental Factors Cause No Image In Night Scopes?
Yes, dense fog, heavy rain, or extreme darkness can affect image clarity. Night vision scopes rely on ambient light or infrared illumination. Ensure proper use in suitable conditions for best results. Use additional IR illuminators if needed.
How To Check If The Night Vision Scope’s Battery Is Dead?
Turn off the scope and replace batteries with fresh ones. Look for power indicators or test with a battery tester. Dead batteries are the most common cause of no image issues in night vision devices.
Conclusion
Troubleshooting night vision scopes with no image takes patience and clear steps. Check the batteries first; weak power often causes problems. Clean the lens and sensor gently to remove dirt or dust. Make sure all settings are correct and the device is on.
Sometimes, a simple reset fixes many issues quickly. Remember, regular maintenance helps keep your scope working well. Follow these tips to enjoy clear night vision again. Keep trying and stay calm—solutions are usually simple.