Have you noticed tiny cracks on your binocular lenses that blur your view and ruin your outdoor adventures? Those cracked coatings don’t just affect your sight—they can make your favorite binoculars feel almost useless.
But before you think about buying a new pair, there’s good news: you can replace those damaged lenses yourself. In this guide, you’ll discover simple steps to restore your binoculars and bring back crystal-clear vision. Keep reading, and you’ll learn how to fix your gear quickly, save money, and enjoy every detail of your next nature trip.
Signs Of Damaged Binocular Lenses
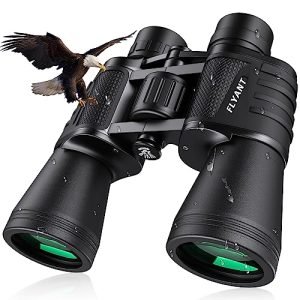
Cracked coatings on binocular lenses often look like tiny lines or flakes. These cracks can cause blurry or spotted views. Light may scatter strangely, making images less clear.
Damaged coatings reduce the binoculars’ ability to protect against glare. This can tire your eyes faster and make it hard to see details. Colors may also appear dull or faded.
Replace lenses when cracks cover large areas or damage affects your viewing. Small scratches might be okay, but cracks usually worsen. If images stay blurry or distorted, it’s time for new lenses.
Credit: www.kentfaith.com
Tools And Materials Needed
Essential tools include a small screwdriver, replacement lenses, and lens cleaner. Materials like a soft cloth and adhesive help with careful lens installation. Ensure a clean workspace to avoid dust or damage during the process.
Essential Replacement Tools
You need a few essential tools. A small screwdriver is very important. Tweezers help in handling tiny parts. Use a lens cloth for cleaning. A magnifying glass helps see small details. Keep a soft mat to protect the lenses.
Choosing Replacement Lenses
Select lenses that fit your binoculars. Check lens size carefully. Look for lenses with clear coatings. Avoid lenses with scratches. Test the lenses before buying. Ensure they offer good vision clarity.
Safety Precautions
Wear gloves to protect your hands. Keep tools away from children. Work in a bright area for better visibility. Handle lenses with care to avoid damage. Follow all safety instructions carefully.
Preparing For Lens Replacement
Start by gently cleaning the binoculars using a soft cloth. Remove any dirt or dust from the surface. Avoid using harsh chemicals that might damage the lenses.
Create a clean and well-lit workspace. Use a flat surface to keep all small parts safe. Good lighting helps to see tiny screws and lens edges clearly.
- Use a small screwdriver to loosen screws carefully.
- Handle lenses by the edges to avoid fingerprints.
- Lift cracked lenses slowly to prevent further damage.
- Place removed lenses on a soft cloth to keep them safe.

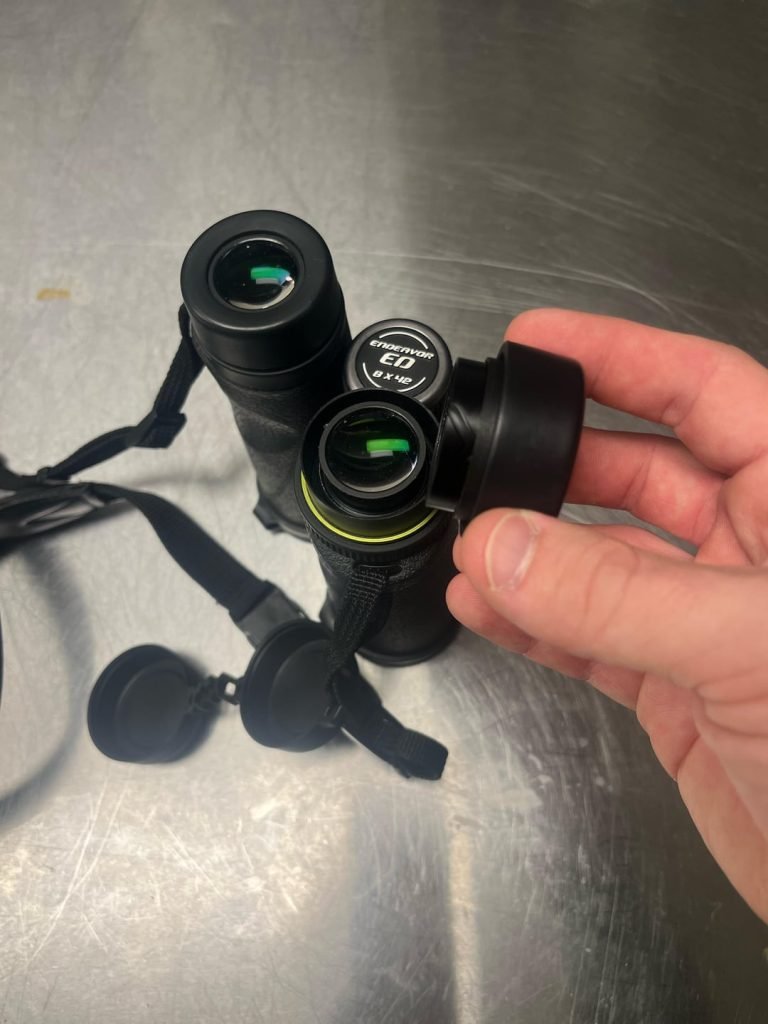
Credit: www.reddit.com
Step-by-step Lens Replacement
Start by cleaning the binoculars with a soft cloth. Gently remove the outer casing to access the lenses. Use a small screwdriver to loosen screws holding the lenses in place. Carefully lift the lenses out without touching the glass surface. Avoid using sharp tools that can scratch or damage the parts.
Place the new lenses in the correct position inside the frame. Make sure the coatings face outward for clear vision. Press the lenses gently but firmly to set them in place. Tighten the screws slowly to avoid cracking the new lenses. Check if the lenses sit evenly and securely.
After installing, reattach the binocular casing carefully. Test the binoculars by looking through them at different distances. Adjust the focus to ensure the new lenses work well. Look for any signs of loose parts or misalignment. Tighten any loose screws and clean the lenses for a clear view.
Maintaining Your Binocular Lenses
Use a soft brush or air blower to remove dust from lenses. Avoid wiping when dry dust is present.
Apply lens cleaner with a microfiber cloth gently. Do not use rough materials or paper towels.
- Keep lenses dryto stop coatings from peeling.
- Avoid touching lenses with fingers to protect coatings.
- Store binoculars in a padded case when not in use.
| Inspection Area | What to Look For | Frequency |
|---|---|---|
| Lenses | Check for cracks, scratches, or peeling coatings | Weekly |
| Body | Look for loose parts or damage | Monthly |
| Focus Mechanism | Ensure smooth movement without stiffness | Monthly |
Credit: www.kentfaith.com
Frequently Asked Questions
How Do I Know If Binocular Lenses Need Replacement?
Check for visible cracks or peeling coatings on lenses. Blurry or distorted images also indicate lens damage. If coatings are cracked, replacement is necessary to restore clear vision.
Can I Replace Cracked Coatings On Binocular Lenses Myself?
Yes, you can replace coatings if you have the right tools and patience. Follow a step-by-step guide carefully to avoid further damage. DIY replacement saves cost but requires precision.
What Tools Are Needed To Replace Binocular Lenses Coatings?
You’ll need lens cleaning cloth, small screwdrivers, replacement lenses or coatings, and adhesive. Proper tools ensure safe removal and accurate installation of new coatings.
How Much Does It Cost To Replace Binocular Lenses Coatings?
Costs vary by brand and lens type but typically range from $30 to $100. DIY kits are cheaper, while professional services cost more. Consider repair vs. replacement value.
Conclusion
Replacing cracked coatings on binocular lenses improves your viewing experience. Clean the lenses gently and follow each step carefully. Use the right tools and work in a bright area. Take your time to avoid damaging delicate parts. Regular maintenance helps keep binoculars in good shape.
Clear lenses give sharper and brighter images. Enjoy your binoculars longer with simple care and repairs. This guide makes lens replacement easy and stress-free. Keep exploring the world with clear, crisp views.