Have you ever noticed your binoculars feeling loose or wobbly? That’s often due to worn-out hinge screws.
Instead of buying a new pair or paying for expensive repairs, you can fix this yourself with a simple repair kit. Imagine getting your binoculars back to perfect working order quickly and easily. In this guide, you’ll learn exactly how to replace those tricky hinge screws step-by-step.
Keep reading, and by the end, your binoculars will feel as good as new—saving you time, money, and frustration.
Tools And Materials Needed
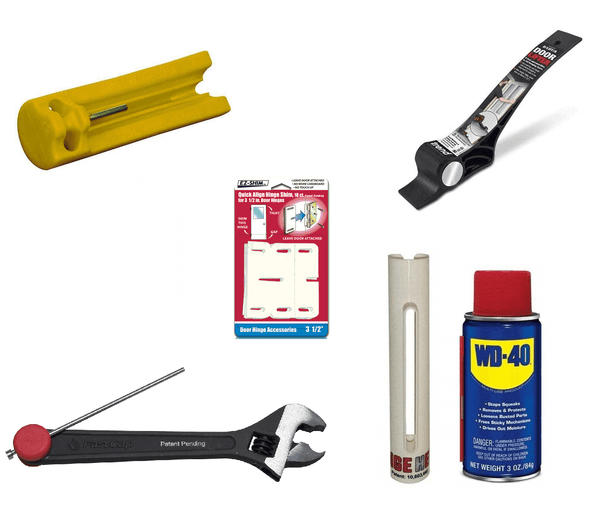
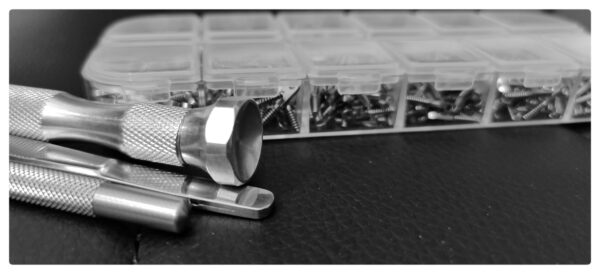
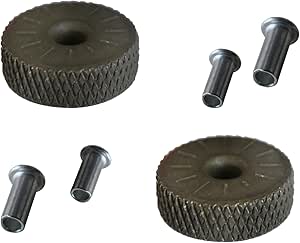
The repair kitusually contains small screws and tiny washers. It may also have a small screwdriver. These parts help fix the binocular hinge safely and tightly.
Some kits include replacement hinges or tiny springs. Check the kit to see all parts before starting the repair.
- Small flathead or Phillips screwdriver
- Tweezers for handling tiny screws
- Magnifying glass to see small parts clearly
- Soft cloth to protect lenses and hold parts
- Small container to keep screws safe
Preparing The Binoculars
Use a soft cloth to gently wipe dirt and dust from the hinge area.
Remove any debris that might block the screw holes or movement.
Cleaning helps ensure the new screws fit and work well.
Place the binoculars on a flat, stable surface to avoid slipping.
Keep the lenses facing down to protect them from scratches.
Use a small container to hold screws and tiny parts safely.
Removing Old Hinge Screws
Old hinge screws often become loose or rusty. Gently unscrew them using a small screwdriver to avoid damage. Removing these screws prepares the binoculars for new hinge screws from the repair kit.
Locating The Screws
Find the hinges on your binoculars. Look closely at the joints. Hinge screws are small and often hidden. Use a flashlight if needed. Check each hinge carefully. These screws hold the parts together. Important to locate them before removal.
Using The Right Screwdriver
Select a small screwdriver. Size matters for these screws. Find one that fits the screw head. A wrong size can damage the screws. Precision is key here. Hold the screwdriver firm. Turn slowly to loosen the screws. Careful handling prevents scratches. Always turn counter-clockwise to remove screws.

Credit: www.youtube.com
Installing New Screws
First, make sure the binocular hinge is clean and free from dirt. Hold the two halves of the binoculars together and carefully align the hingeso the holes match. This step is very important to avoid damage and ensure a smooth fit.
Next, place the new screw from the repair kit into the aligned hole. Use a small screwdriver that fits well to avoid slipping. Turn the screw slowlyto avoid stripping the threads.
- Do not tighten the screw too much to prevent damage.
- Check if the hinge moves freely after securing the screw.
- Tighten a little more if the hinge feels loose.
- Repeat the process for the other side if needed.
Testing The Repair
Check the hinge movementby gently opening and closing the binoculars. The motion should be smooth and without any looseness. If the hinge feels too tight or too loose, adjustments may be needed.
Test the stabilityby holding the binoculars firmly. There should be no wobbling or shifting at the hinge area. The screws should keep the parts securely in place.
- Open and close the binoculars several times.
- Feel for any unusual resistance or looseness.
- Hold the binoculars and check for wobbling.
- Tighten screws slightly if the hinge is loose.
- Do not overtighten to avoid damage.
Credit: glasseshingefix.com
Troubleshooting Common Issues
Stripped screwscan make hinge repair tough. Use a small rubber band between the screwdriver and screw head. This adds grip and helps turn the screw. If the screw is badly damaged, try a screw extractor tool from the repair kit. Replace the stripped screw with a new one from the kit to ensure a tight fit.
Misaligned hingescause binoculars to feel loose or uneven. Adjust the screws slowly to realign the hinges. Tighten screws evenly on both sides. Test the binoculars by folding and unfolding to check alignment. If needed, use the repair kit’s small screwdriver for better control.
Maintenance Tips For Binocular Hinges
Keep binocular hinges working well by cleaning them regularly. Use a soft cloth to remove dust and dirt. Avoid using water or harsh chemicals as they can cause rust or damage. A small brush helps reach tight spots around the hinge.
Proper storage plays a key role in hinge care. Store binoculars in a dry placeaway from direct sunlight. Use the case that came with them to protect from dust and bumps. Avoid leaving binoculars in hot cars or damp areas to prevent damage.
Credit: leitemendes.com
Frequently Asked Questions
How Do I Know If Binocular Hinge Screws Need Replacing?
Check for loose or missing screws on the hinge. If the binoculars feel wobbly or misaligned, the screws likely need replacement. Inspect the hinge area carefully before starting the repair.
What Tools Are Required For Replacing Hinge Screws?
You will need a small screwdriver, binocular repair kit, tweezers, and a magnifying glass. These tools help you remove and install screws safely and accurately.
Can I Use Any Screw Type For Binocular Hinges?
No, use screws specified in your binocular repair kit. Using incorrect screws can damage the hinge or affect binocular alignment.
How Long Does It Take To Replace Hinge Screws?
Replacing hinge screws typically takes 10 to 20 minutes. It depends on your experience and the binocular model complexity.
Conclusion
Replacing binocular hinge screws is simple with the right repair kit. Follow each step carefully to avoid mistakes. Take your time and use proper tools for best results. Tighten screws just enough to hold parts firmly. This small fix can make your binoculars work like new.
Regular care helps your gear last longer. Try this repair to save money and enjoy clear views again.