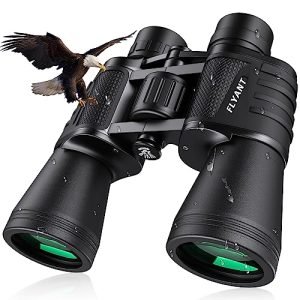
Have your binocular eyepieces become scratched or damaged? You don’t need to buy a whole new pair.
With the right repair kit and a little guidance, you can fix them yourself quickly and save money. Imagine enjoying crystal-clear views again without the hassle of professional repairs. You’ll learn step-by-step how to replace your binocular eyepieces easily and confidently.
Keep reading to discover simple tips that will have your binoculars working like new in no time.
Tools Needed
A small screwdriver, cleaning cloth, and the repair kit with new eyepieces are essential. Having a soft brush helps remove dust gently. These tools make the replacement process smooth and safe.
Essential Repair Kit Components
A good repair kit includes several essential parts. Eyepiece screws are crucial for attaching eyepieces securely. Rubber O-rings provide a tight seal to prevent dust and moisture. A screwdriver is needed for tightening and removing screws. Lens cleaner helps keep your eyepieces clear and spotless. Tweezers are useful for handling tiny parts. Replacement eyepieces are a must-have for damaged ones.
Additional Supplies
Some extra items make repairs easier. Cleaning cloths are handy for wiping lenses. Magnifying glass helps see small parts better. Small containers keep tiny screws safe. Protective gloves keep your hands clean. Flashlight helps in dim light conditions. Workbench mat prevents scratches on surfaces.

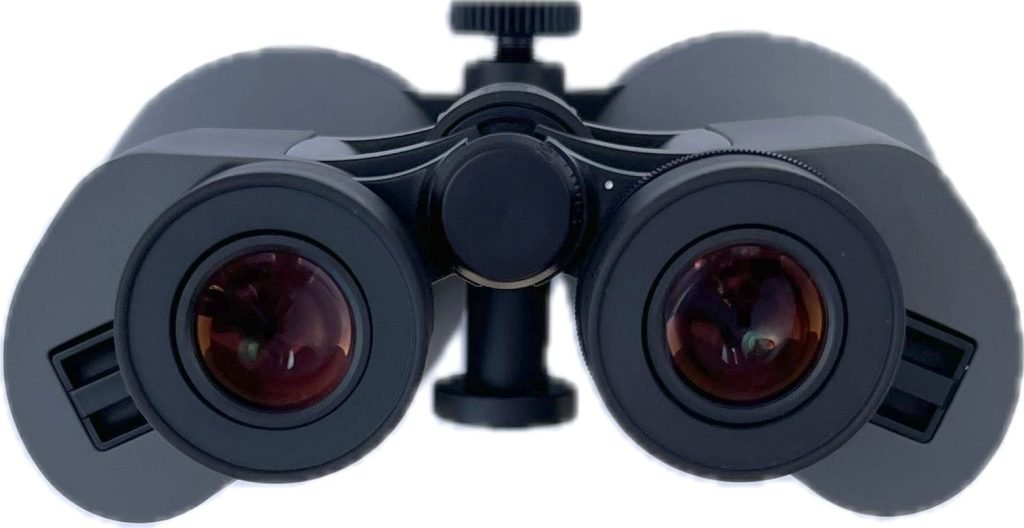
Credit: oberwerk.com
Preparing For Replacement
Gather all necessary tools from the repair kit before starting. Clean the eyepieces and workspace to avoid dust and dirt. Ensure good lighting and a steady surface to work safely and accurately.
Cleaning Your Workspace
Clear your workspace to avoid losing small parts. Use a clean, flat surface free of dust. Lay a soft cloth to protect the binoculars and eyepieces. Good lighting helps see tiny screws and pieces. Keep tools like screwdrivers and tweezers close by. Avoid eating or drinking near the area to prevent spills.
Handling Binoculars Safely
Hold binoculars gently to avoid damage. Use both hands for a firm grip. Keep the lenses facing away from hard surfaces. Do not force parts when removing eyepieces. Place removed parts on the soft cloth to avoid scratches. Take care not to touch lenses with fingers to keep them clean.
Removing Old Eyepieces
Start by holding the binoculars firmly. Use a small screwdriver or the tool in your repair kit to loosen the eyepiece. Turn it gently counterclockwise. Avoid using too much force to prevent damage.
Once the eyepiece feels loose, detach it carefully. Pull it straight out without twisting too much. Keep the eyepiece and any small parts safe to avoid losing them.
Installing New Eyepieces
Carefully place the new eyepieces near the binoculars. Check that each replacement part is clean and free of dust. Align the eyepieces with the original holders. Make sure the lenses face the correct direction. Gently press the eyepieces into their slots until they fit snugly.
Secure the eyepieces by tightening any screws or clips. Use the tools from the repair kit to avoid damage. Avoid over-tightening, which can break the parts. Double-check that the eyepieces are firmly in place. Test the binoculars by looking through them to confirm alignment.
Final Adjustments
Check the focus by looking through the binoculars at a distant object. Turn the focus wheel slowly until the image is sharp and clear. Make sure both eyepieces show the same view without blurriness.
Align the eyepieces by gently adjusting their position. They should sit evenly and feel comfortable for your eyes. Misaligned eyepieces can cause double images or eye strain.
- Use a soft, clean cloth to wipe the new eyepieces.
- Remove any dust or fingerprints carefully.
- Avoid harsh chemicals; use lens cleaner if needed.
- Keep the eyepieces dry to prevent damage.

Credit: www.amazon.com
Troubleshooting Tips
Common problemsinclude blurry vision, loose eyepieces, and dirt inside lenses. Cleaning lenses gently with a soft cloth often helps. If eyepieces wobble, tightening screws or adjusting the fit can fix the issue. Dirt inside may need careful disassembly using the repair kit tools.
Eyepiece alignmentis crucial. Misaligned eyepieces cause double images or eye strain. Use the kit’s instructions to realign parts slowly and test vision often.
Signs to seek professional help:
- Eyepieces do not fit after several tries.
- Vision remains blurry despite cleaning.
- Internal parts look broken or cracked.
- Tools from the kit do not work on your model.
Experts can safely fix complex issues without causing damage.

Credit: www.amazon.ca
Frequently Asked Questions
How Do I Know If Binocular Eyepieces Need Replacement?
Check for scratches, fogging, or blurry images through the eyepieces. If cleaning doesn’t help, replacement is needed. Damaged eyepieces reduce clarity and viewing comfort.
What Tools Are Included In A Binocular Eyepiece Repair Kit?
Most kits include replacement eyepieces, lens cleaning cloth, small screwdrivers, and tweezers. These tools help safely remove and install new eyepieces without damage.
How Long Does It Take To Replace Binocular Eyepieces?
Replacing eyepieces typically takes 15 to 30 minutes. This depends on your skill level and the binocular model. Following step-by-step instructions ensures a quick process.
Can I Replace Binocular Eyepieces Myself Safely?
Yes, with a proper repair kit and instructions, DIY replacement is safe. Handle lenses carefully to avoid scratches and ensure correct alignment for optimal viewing.
Conclusion
Replacing binocular eyepieces with a repair kit is simple and cost-effective. Follow the steps carefully to avoid damage. Take your time and keep parts organized. Clean the lenses before reassembly for clear views. Regular maintenance helps your binoculars last longer.
Enjoy sharper images on your next outdoor adventure. This guide makes the process easy for anyone. Now, you can fix your binoculars yourself. No need to buy new ones right away. Keep exploring with confidence and clear vision.