Don’t Let Dim Vision Get the Best of You: How to Repair Binocular Illumination Knobs Are you tired of struggling to see clearly in low-light conditions with your binoculars? Do you find yourself constantly fiddling with the illumination knobs, only to be left with a disappointing dim view?
You’re not alone. Many outdoor enthusiasts, hunters, and birdwatchers face this frustrating issue with their binoculars. But what if we told you that repairing your binocular illumination knobs is easier than you think? We’ll guide you through a step-by-step process to get your binoculars shining bright again, so you can focus on what matters most – enjoying the great outdoors.
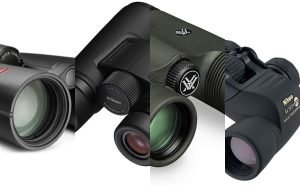
Credit: www.aliexpress.com
Common Issues With Illumination Knobs
Illumination knobs may become looseor wornover time. This can make it hard to adjust the brightness. Check if the knob is securely attached. Tighten any loose screws. If the knob is worn, consider replacing it. New knobs can be found at many hardware stores.
Electrical issues can stop illumination knobs from working. Inspect the wiring connectionsinside the binoculars. Look for any frayed wiresor loose connections. Repair or replace damaged wires. Ensure all connections are secure. This can restore proper function.
Batteries power the illumination knobs. Make sure they are chargedand properly installed. Check for any corrosionon battery terminals. Clean with a soft cloth if necessary. Replace old batteries with new ones. This can solve many illumination issues.
Tools And Materials Needed
A basic repair toolkitincludes screwdrivers, tweezers, and small pliers. These tools help remove and adjust tiny parts inside the knob. A magnifying glass can make it easier to see small details.
Replacement parts may include new illumination knobs, small springs, or tiny screws. Having the right parts ready saves time and ensures the repair works well.
Safety equipment like glovesand eye protectionkeeps hands safe from sharp edges and small flying pieces. A clean workspace also helps avoid losing tiny parts.
Preparing For Repair
Start by finding a clean, flat workspace to avoid losing parts. Use a small screwdriver to open the binocular casing carefully. Keep screws in a container to prevent loss. Gently separate the top cover to access internal parts.
Look for the illumination knob on the side or front of the binoculars. It often has a small light bulb or LED attached. Note how the knob fits into the casing before removing it. Take a picture if needed for reference.
Use a soft cloth or brush to remove dust and dirt from all parts. Clean the knob, bulb, and surrounding area carefully. Avoid using water or harsh chemicals. A small amount of rubbing alcohol on a cotton swab works well for stubborn grime.
Fixing Mechanical Issues
Loose knobs can cause poor illumination control. Use a small screwdriver to gently tighten the screws holding the knob. Avoid overtightening, which can damage the parts. Check the knob’s fit after tightening to ensure smooth rotation.
Broken knobs need replacement for proper function. Find a matching knob from the manufacturer or a trusted parts store. Remove the old knob by pulling it off or unscrewing it carefully. Attach the new knob firmly but without forcing it.
Lubricating moving parts helps the knob turn easily. Use a small amount of silicone or graphite lubricant. Avoid oil-based lubricants as they attract dust and dirt. Apply lubricant sparingly on the knob’s base and moving joints, then rotate the knob to spread it evenly.
Repairing Electrical Connections
Begin by carefully checking the wiring and contactsinside the illumination knob. Look for any loose or broken wiresthat may cause the light to flicker or not work at all. Use a small flashlight to see clearly inside the knob area.
Soldering loose connections is a key step. Heat the soldering iron and gently apply solder to any wires that look loose. Make sure the connection is solid and shiny to ensure good electrical flow. Avoid using too much solder as it can create shorts.
Damaged wires must be replaced. Cut out the broken parts and strip the ends of the new wire. Use solder to attach the new wire securely to the contacts. Test the knob before putting everything back together to confirm the repair works well.
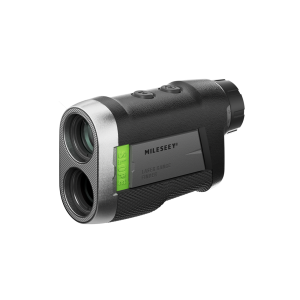
Credit: www.amazon.com
Battery Troubleshooting
Check the battery lifeby using a battery tester or multimeter. A reading below the recommended voltage means the battery is weak or dead. Always keep spare batteries handy for quick replacement.
Replace batteries carefully to avoid damage. Insert new batteries following the correct polarity(+ and -). Wrong placement can cause the illumination knob not to work or damage the device.
Make sure the battery contactsinside the battery compartment are clean and free from dirt or corrosion. Use a cotton swab dipped in rubbing alcohol to clean the contacts gently. This helps maintain good electrical connection.
Reassembling And Testing
Carefully place all illumination knob partsback in their original spots. Make sure each component fits snugly to avoid loose connections. Tighten screws gently to prevent damage.
Test the illumination by turning the knob on and off. Check if the light glows steadily. If it flickers, recheck the wiring and connections.
Adjust the brightness level for best visibility. Turn the knob slowly to find the optimal light intensity. Ensure the knob moves smoothly without resistance.

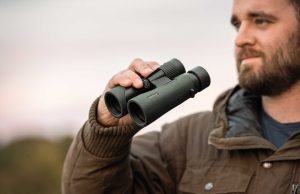
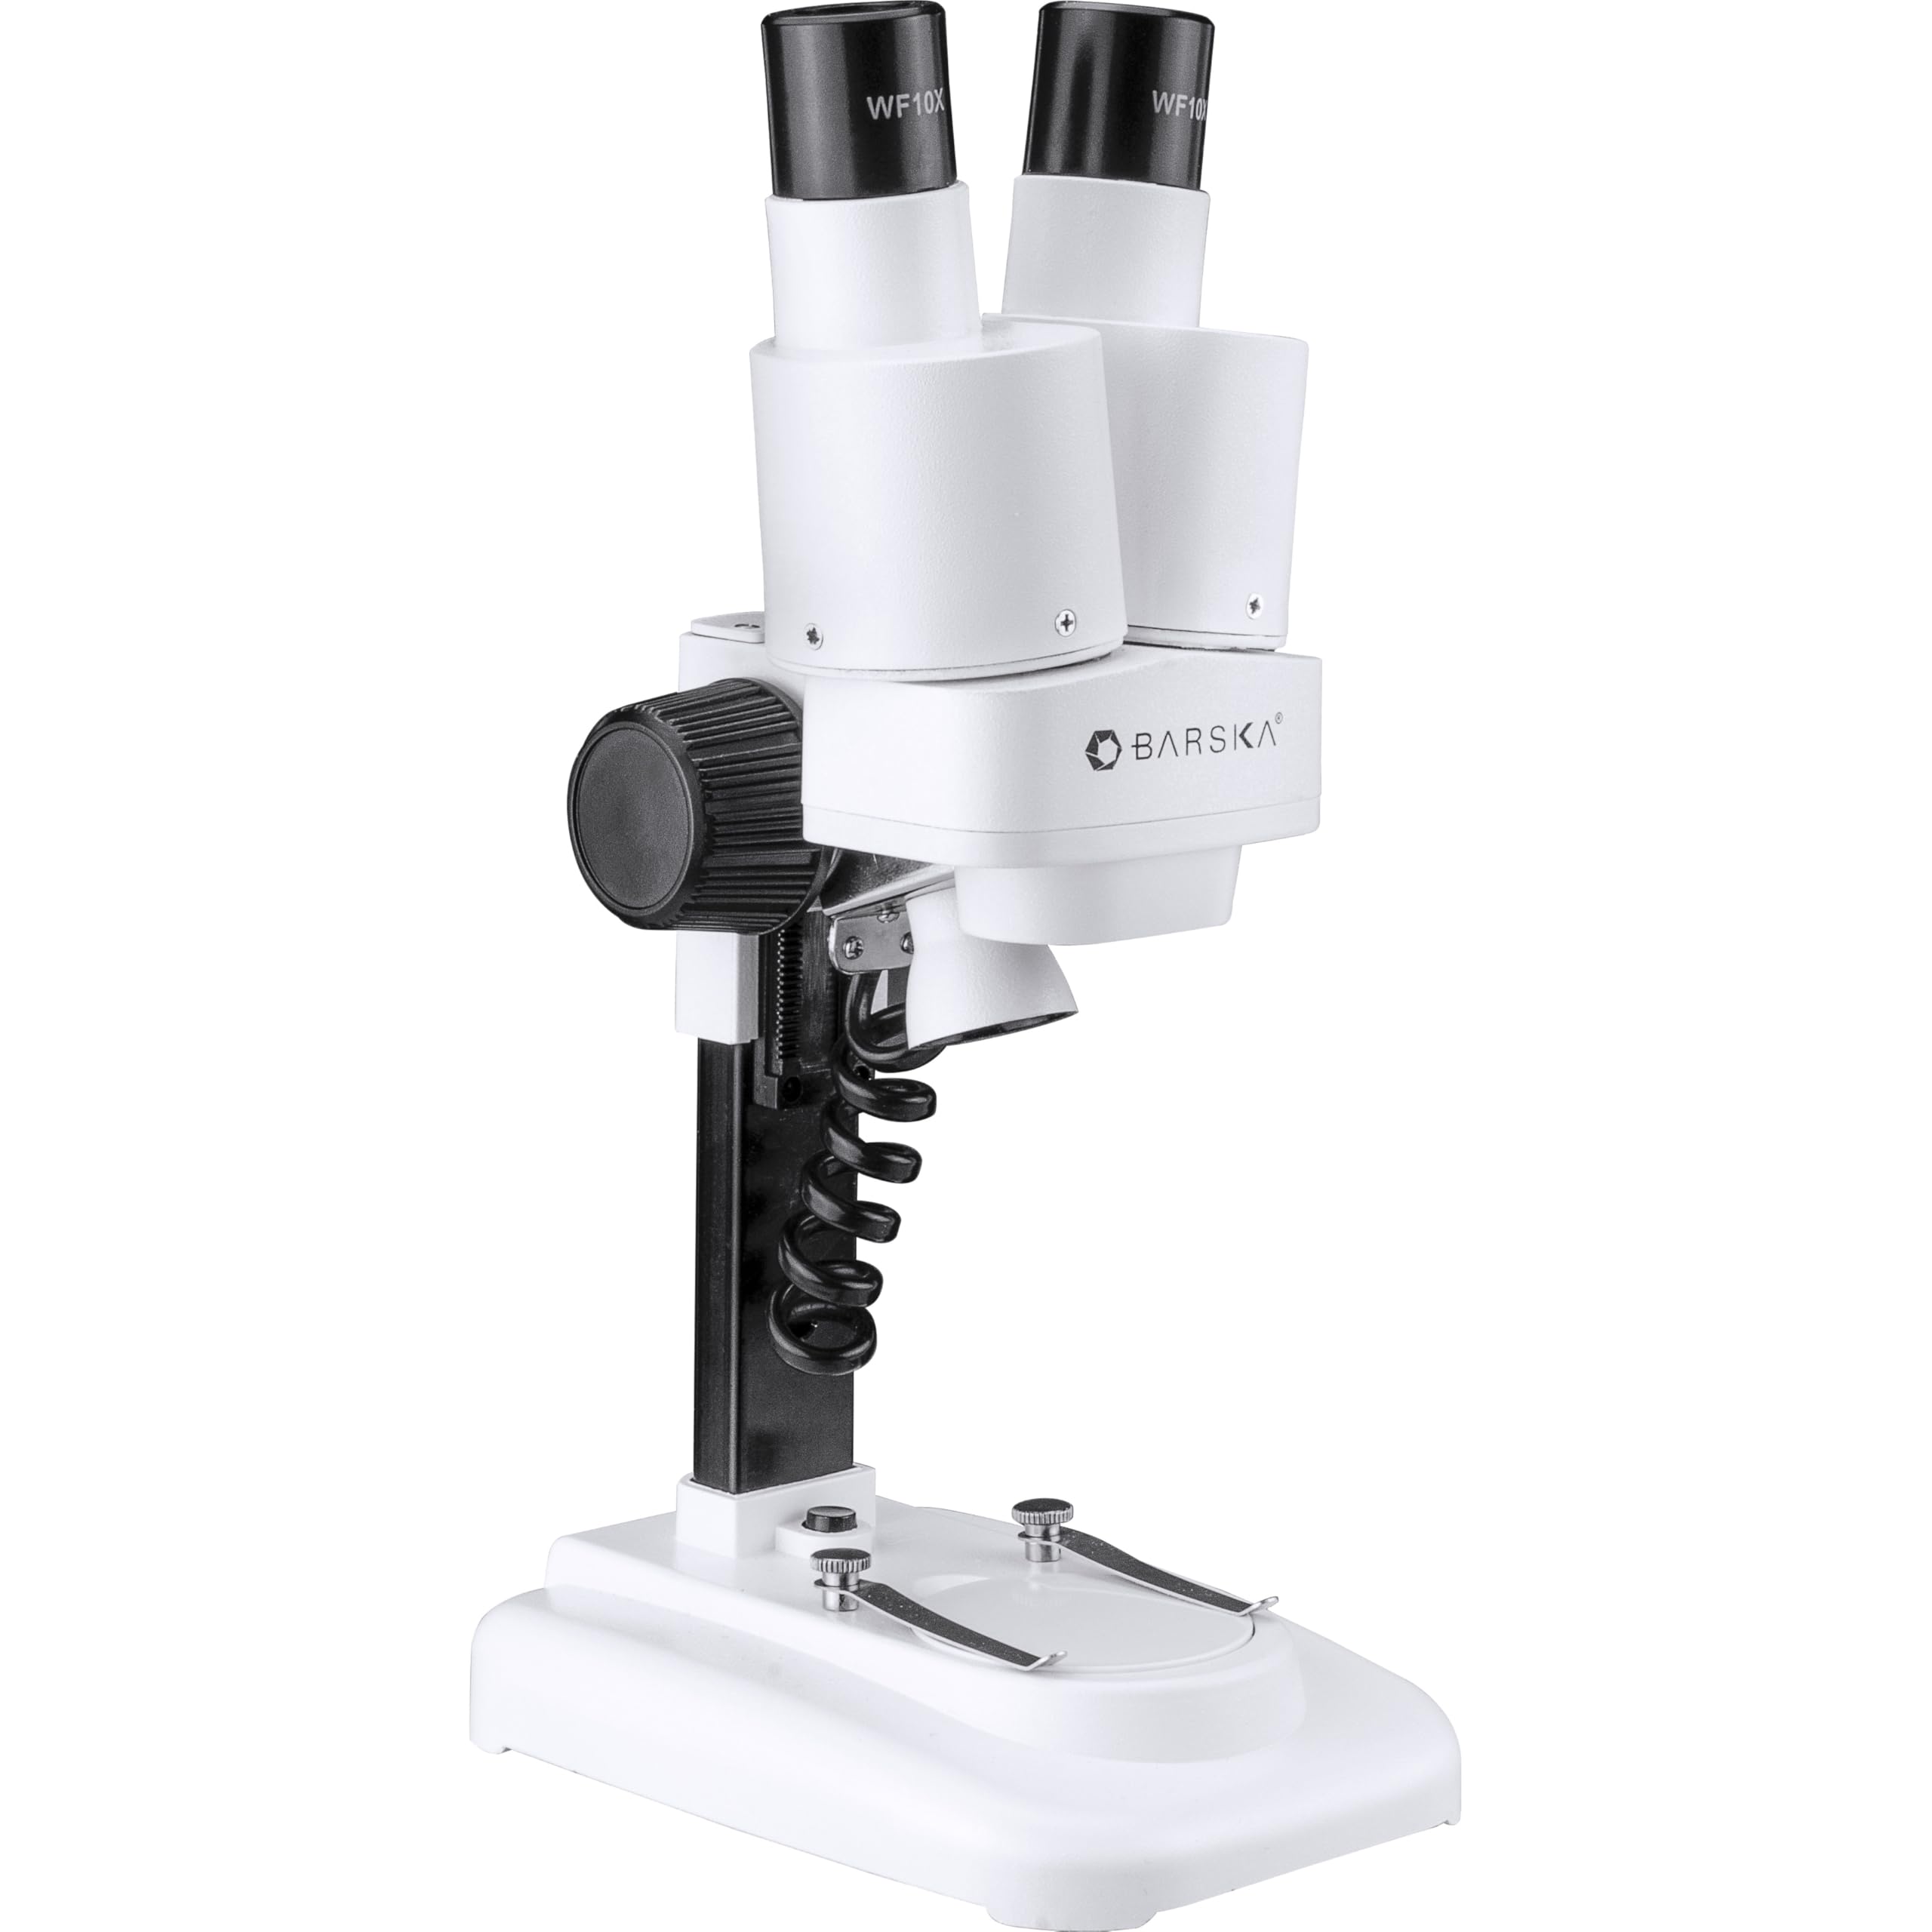
Credit: nb-movel.en.made-in-china.com
Tips For Maintenance And Longevity
Keep the illumination knobs clean by wiping them gently with a soft cloth. Avoid using harsh chemicals that can damage the knobs. Regular cleaning helps prevent dirt build-up and keeps the knobs working smoothly.
Store binoculars in a dry place to avoid moisture damage. Use a protective case to prevent dust and scratches. Avoid exposing them to extreme temperatures or direct sunlight for long periods.
Seek professional help if the illumination knob feels stuck or does not light up. Do not try to force or open the binoculars yourself, as this may cause more damage. A technician can properly diagnose and fix internal issues.
Frequently Asked Questions
How Do I Fix A Loose Binocular Illumination Knob?
To fix a loose knob, tighten the set screw using a small screwdriver. If it’s stripped, replace the screw or knob for better grip.
Why Is My Binocular Illumination Knob Not Turning?
The knob may be stuck due to dirt or corrosion. Clean it gently and apply a small amount of lubricant to restore movement.
Can I Repair Binocular Illumination Knobs At Home?
Yes, simple repairs like tightening screws or cleaning can be done at home with basic tools and care.
What Tools Are Needed To Repair Illumination Knobs?
You’ll need a small screwdriver, tweezers, cleaning cloth, and possibly lubricant for smooth knob operation.
Conclusion
Repairing binocular illumination knobs can be simple with the right steps. Take your time to clean and check each part carefully. Use gentle tools and avoid forcing any components. Small fixes can bring your binoculars back to life quickly. Regular maintenance helps prevent future problems.
Enjoy clearer views with working illumination. Keep these tips handy for easy repairs. Your binoculars will serve you well again.