Are you struggling to get a clear view through your digital night vision scope? Knowing how to adjust the zoom correctly can make all the difference between missing a crucial detail and spotting your target with perfect clarity.
Whether you’re out in the field or just testing your gear at home, mastering zoom adjustments will give you sharper images and a more confident experience. You’ll discover simple, step-by-step tips to help you quickly fine-tune your night vision scope’s zoom.
Keep reading, and unlock the full potential of your device tonight.
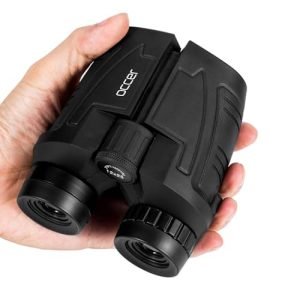
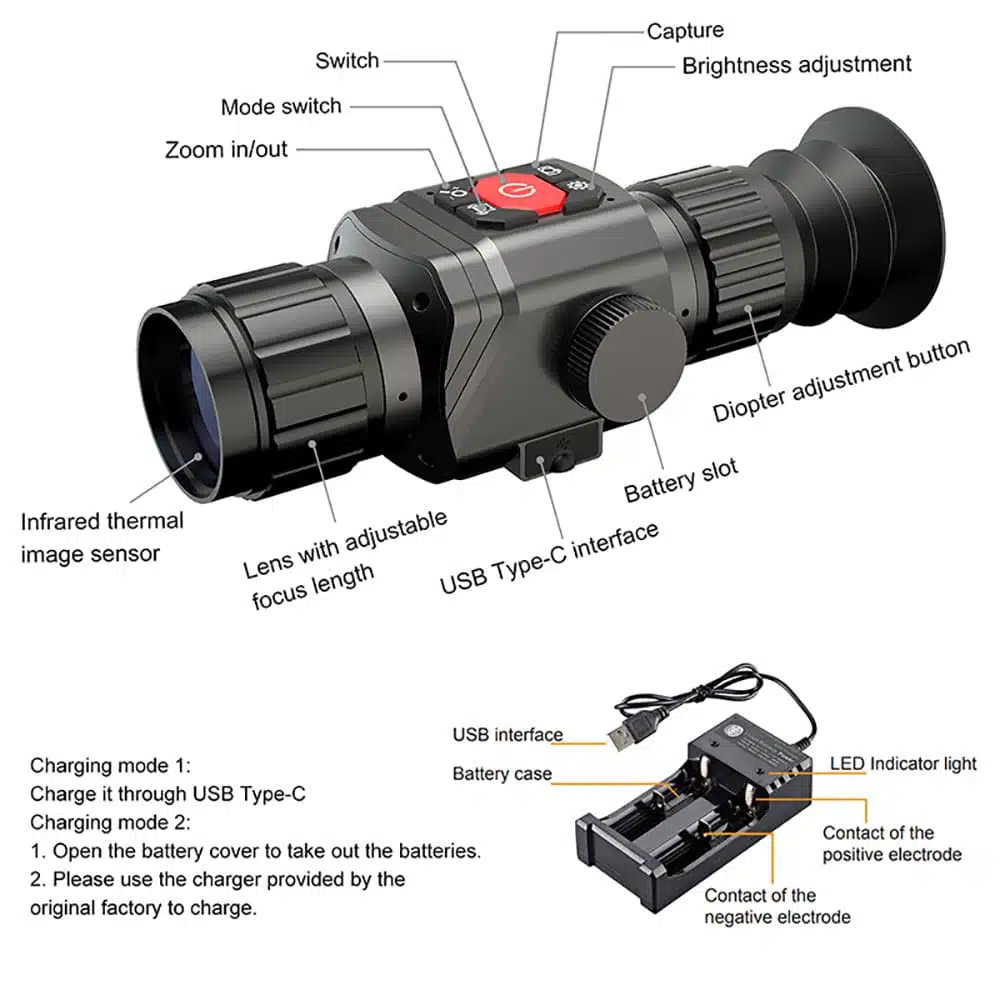
Credit: pardusa.com
Choosing The Right Scope
Digital night vision scopes come in several types. Some use infrared lightto help see in the dark. Others use thermal imagingto detect heat from animals or people. Each type offers different zoom levels and image clarity.
Zoom capability depends on several factors:
- Lens quality:Better lenses give clearer zoomed images.
- Sensor size:Larger sensors capture more light for better detail.
- Digital zoom vs. optical zoom:Optical zoom keeps image quality, while digital zoom may reduce clarity.
- Battery power:Stronger batteries support higher zoom settings longer.
Basics Of Zoom On Night Vision Scopes
The zoom featureon digital night vision scopes helps you see objects far away clearly. There are two main types of zoom: optical zoomand digital zoom.
Optical zoomuses the scope’s lenses to bring objects closer without losing detail. It keeps the image clear and sharp. Digital zoommakes the image bigger by enlarging pixels on the screen. This can cause the picture to look blurry or pixelated.
Choosing between optical and digital zoom affects image quality. Optical zoom keeps images sharp but is limited by the lens. Digital zoom can magnify more but lowers clarity. Use optical zoom for the best view. Digital zoom is useful for extra close-ups but expect less sharpness.
Step-by-step Zoom Adjustment
Adjust the zoom on your digital night vision scope by gently turning the zoom control. Focus the image until the view is clear and sharp. Small adjustments help achieve the best visibility in low light conditions.
Locating Zoom Controls
Most digital night vision scopes have zoom controls near the eyepiece or on the side. These controls can be buttons, dials, or sliders. Check the user manual if unsure. Some models use a digital menu to adjust zoom. Knowing where these controls are helps adjust zoom quickly in dark settings.
Adjusting Zoom Levels Smoothly
Turn or press the zoom controls slowly for smooth changes. Sudden moves can blur the image or lose focus. Watch the screen as you adjust to find the best view. Stop when the target looks clear and detailed. Practice helps you get used to the zoom speed and limits.
Locking Zoom Settings
Some scopes let you lock the zoom to keep the view steady. Look for a lock button or a menu option. Locking prevents accidental changes during use. If your scope lacks this feature, handle the zoom controls carefully to avoid shifts.

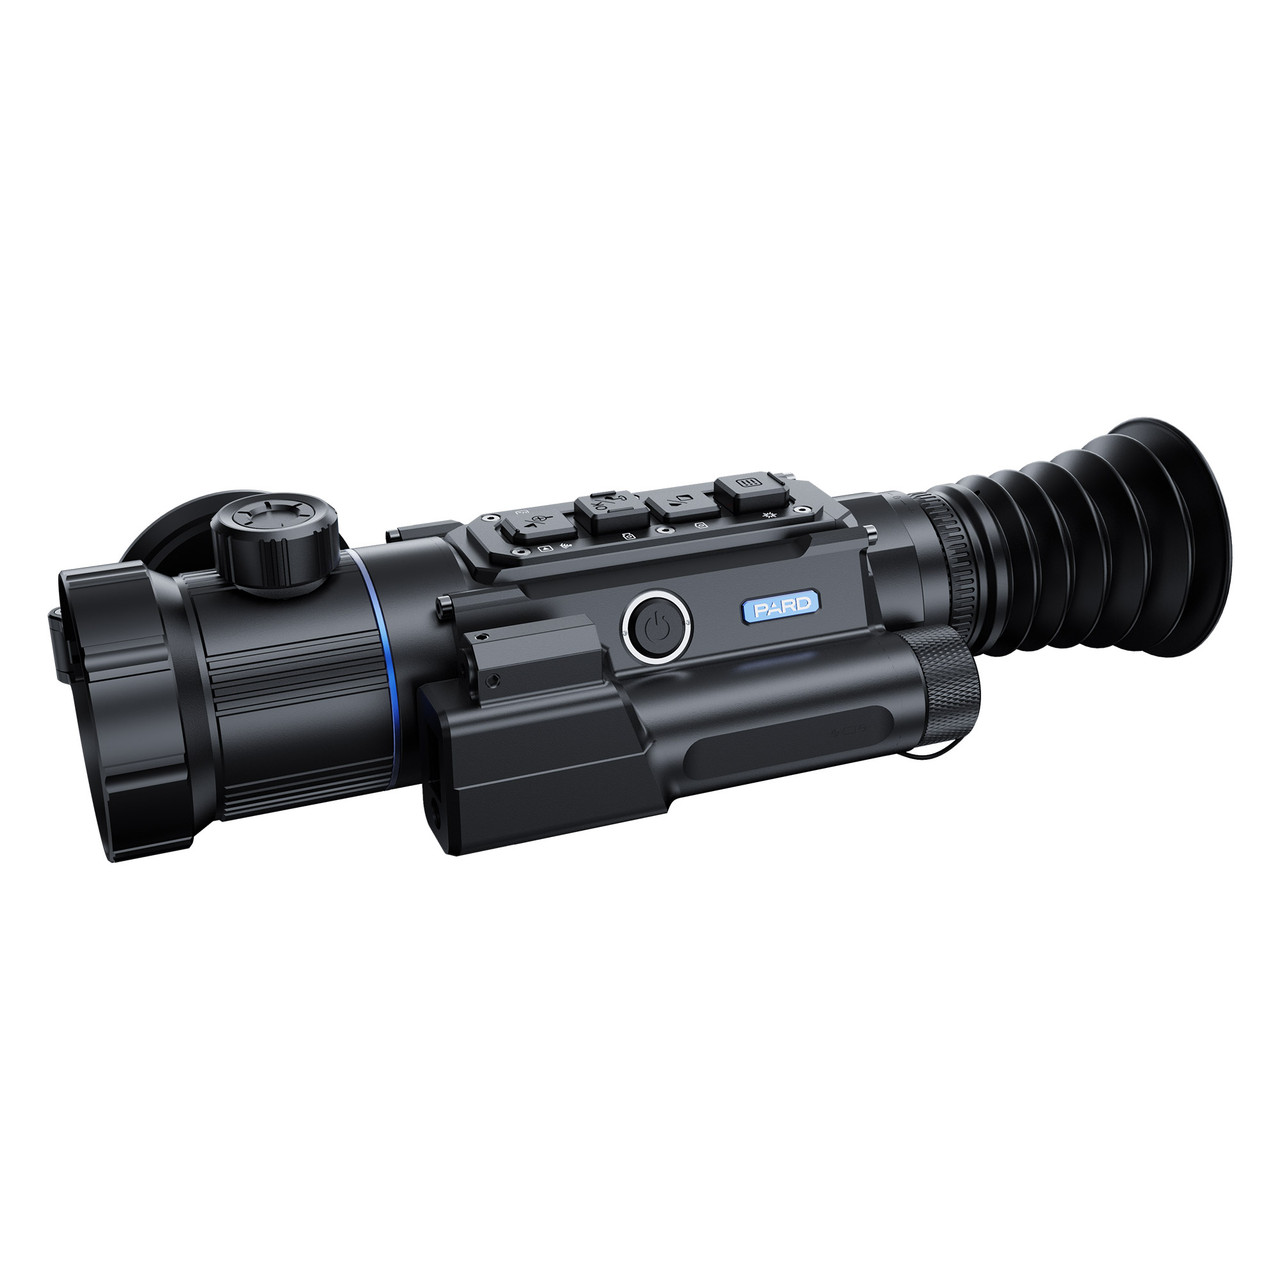
Credit: www.youtube.com
Optimizing Zoom For Different Conditions
In low light environments, reduce the zoom level to keep images bright and clear. Higher zoom can make the image dark and blurry. Use the lowest zoom for the best view in very dark places. Adjust slowly to find the right balance.
For long distance viewing, increase zoom to see far objects clearly. Be careful not to zoom too much, or the image will shake. A steady hand or tripod helps keep the view stable. Zoom in just enough to spot details without losing focus.
Close range adjustmentsneed lower zoom. Too much zoom can make the view too small or unclear. Keep zoom low for clear and sharp images nearby. This helps spot small details easily.
Troubleshooting Zoom Issues
Blurry imagesoften result from incorrect focus or low light. Adjust the focus ring slowly until the image sharpens. Clean the lens to remove dirt or smudges that blur vision.
Zoom lag or delaymay happen due to battery issues or slow processing. Replace batteries with fresh ones. Turn the scope off and on to reset. Avoid rapid zoom changes to reduce lag.
Calibration problemscause inaccurate zoom levels. Check the user manual for calibration steps. Some scopes need manual adjustment of zoom settings. Use a steady surface to recalibrate for best results.

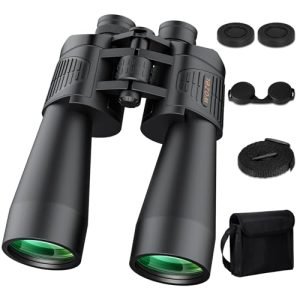
Credit: www.amazon.com
Maintenance Tips For Zoom Function
Cleaning lensesis key for clear zoom views. Use a soft, lint-free cloth. Avoid harsh chemicals that can damage coatings. Gently wipe in a circular motion to remove dust and smudges.
Regular firmware updateskeep the scope running smoothly. Check the manufacturer’s website often. Updates can fix bugs and improve zoom accuracy. Always follow update instructions carefully to avoid errors.
Proper storage practicesprotect the scope and its zoom function. Store in a dry, cool place away from direct sunlight. Use a protective case to prevent scratches. Remove batteries if not used for a long time to avoid leaks.
Frequently Asked Questions
How Do I Zoom In On A Digital Night Vision Scope?
To zoom in, locate the zoom control knob or button on your scope. Rotate or press it gently to increase magnification. Adjust slowly to avoid blurry images and maintain target clarity during night vision use.
Can I Adjust Zoom Without Losing Image Quality?
Yes, most digital night vision scopes maintain clear images at moderate zoom levels. Avoid excessive zoom to prevent pixelation. Use scopes with high-resolution sensors for better image quality when zooming.
What Is The Best Zoom Level For Night Vision Scopes?
The ideal zoom level varies by usage but generally ranges from 2x to 6x. Higher zoom reduces field of view and may lower brightness. Start with low zoom and adjust based on distance and target size.
How To Fix Zoom If Night Vision Scope Is Blurry?
If the image is blurry, try refocusing the lens after zooming. Clean the lens and check for dirt or moisture. Adjust brightness settings as excessive light can cause blurriness in digital night vision.
Conclusion
Mastering zoom on digital night vision scopes enhances your viewing experience. Practice is key to gaining confidence with your equipment. Adjust settings until clarity and focus are achieved. Remember, patience leads to better results. Night vision scopes offer unique advantages, especially in low light conditions.
By understanding your scope’s features, you can make informed choices. Don’t rush the process; take time to explore different settings. This ensures optimal performance and satisfaction. With consistent use, adjusting zoom becomes second nature. Enjoy the benefits of improved visibility during night adventures.
Your night vision scope can be a valuable tool.